Serendipity Identity Service
Keycloak Admin Console
Navigate to the Keycloak Admin Console:
https://serendipity-identity-service.localhost/admin
And sign in using the SERENDIPITY_IDENTITY_SERVICE_USER (temp-admin) and SERENDIPITY_IDENTITY_SERVICE_PASSWORD (secret) credentials:
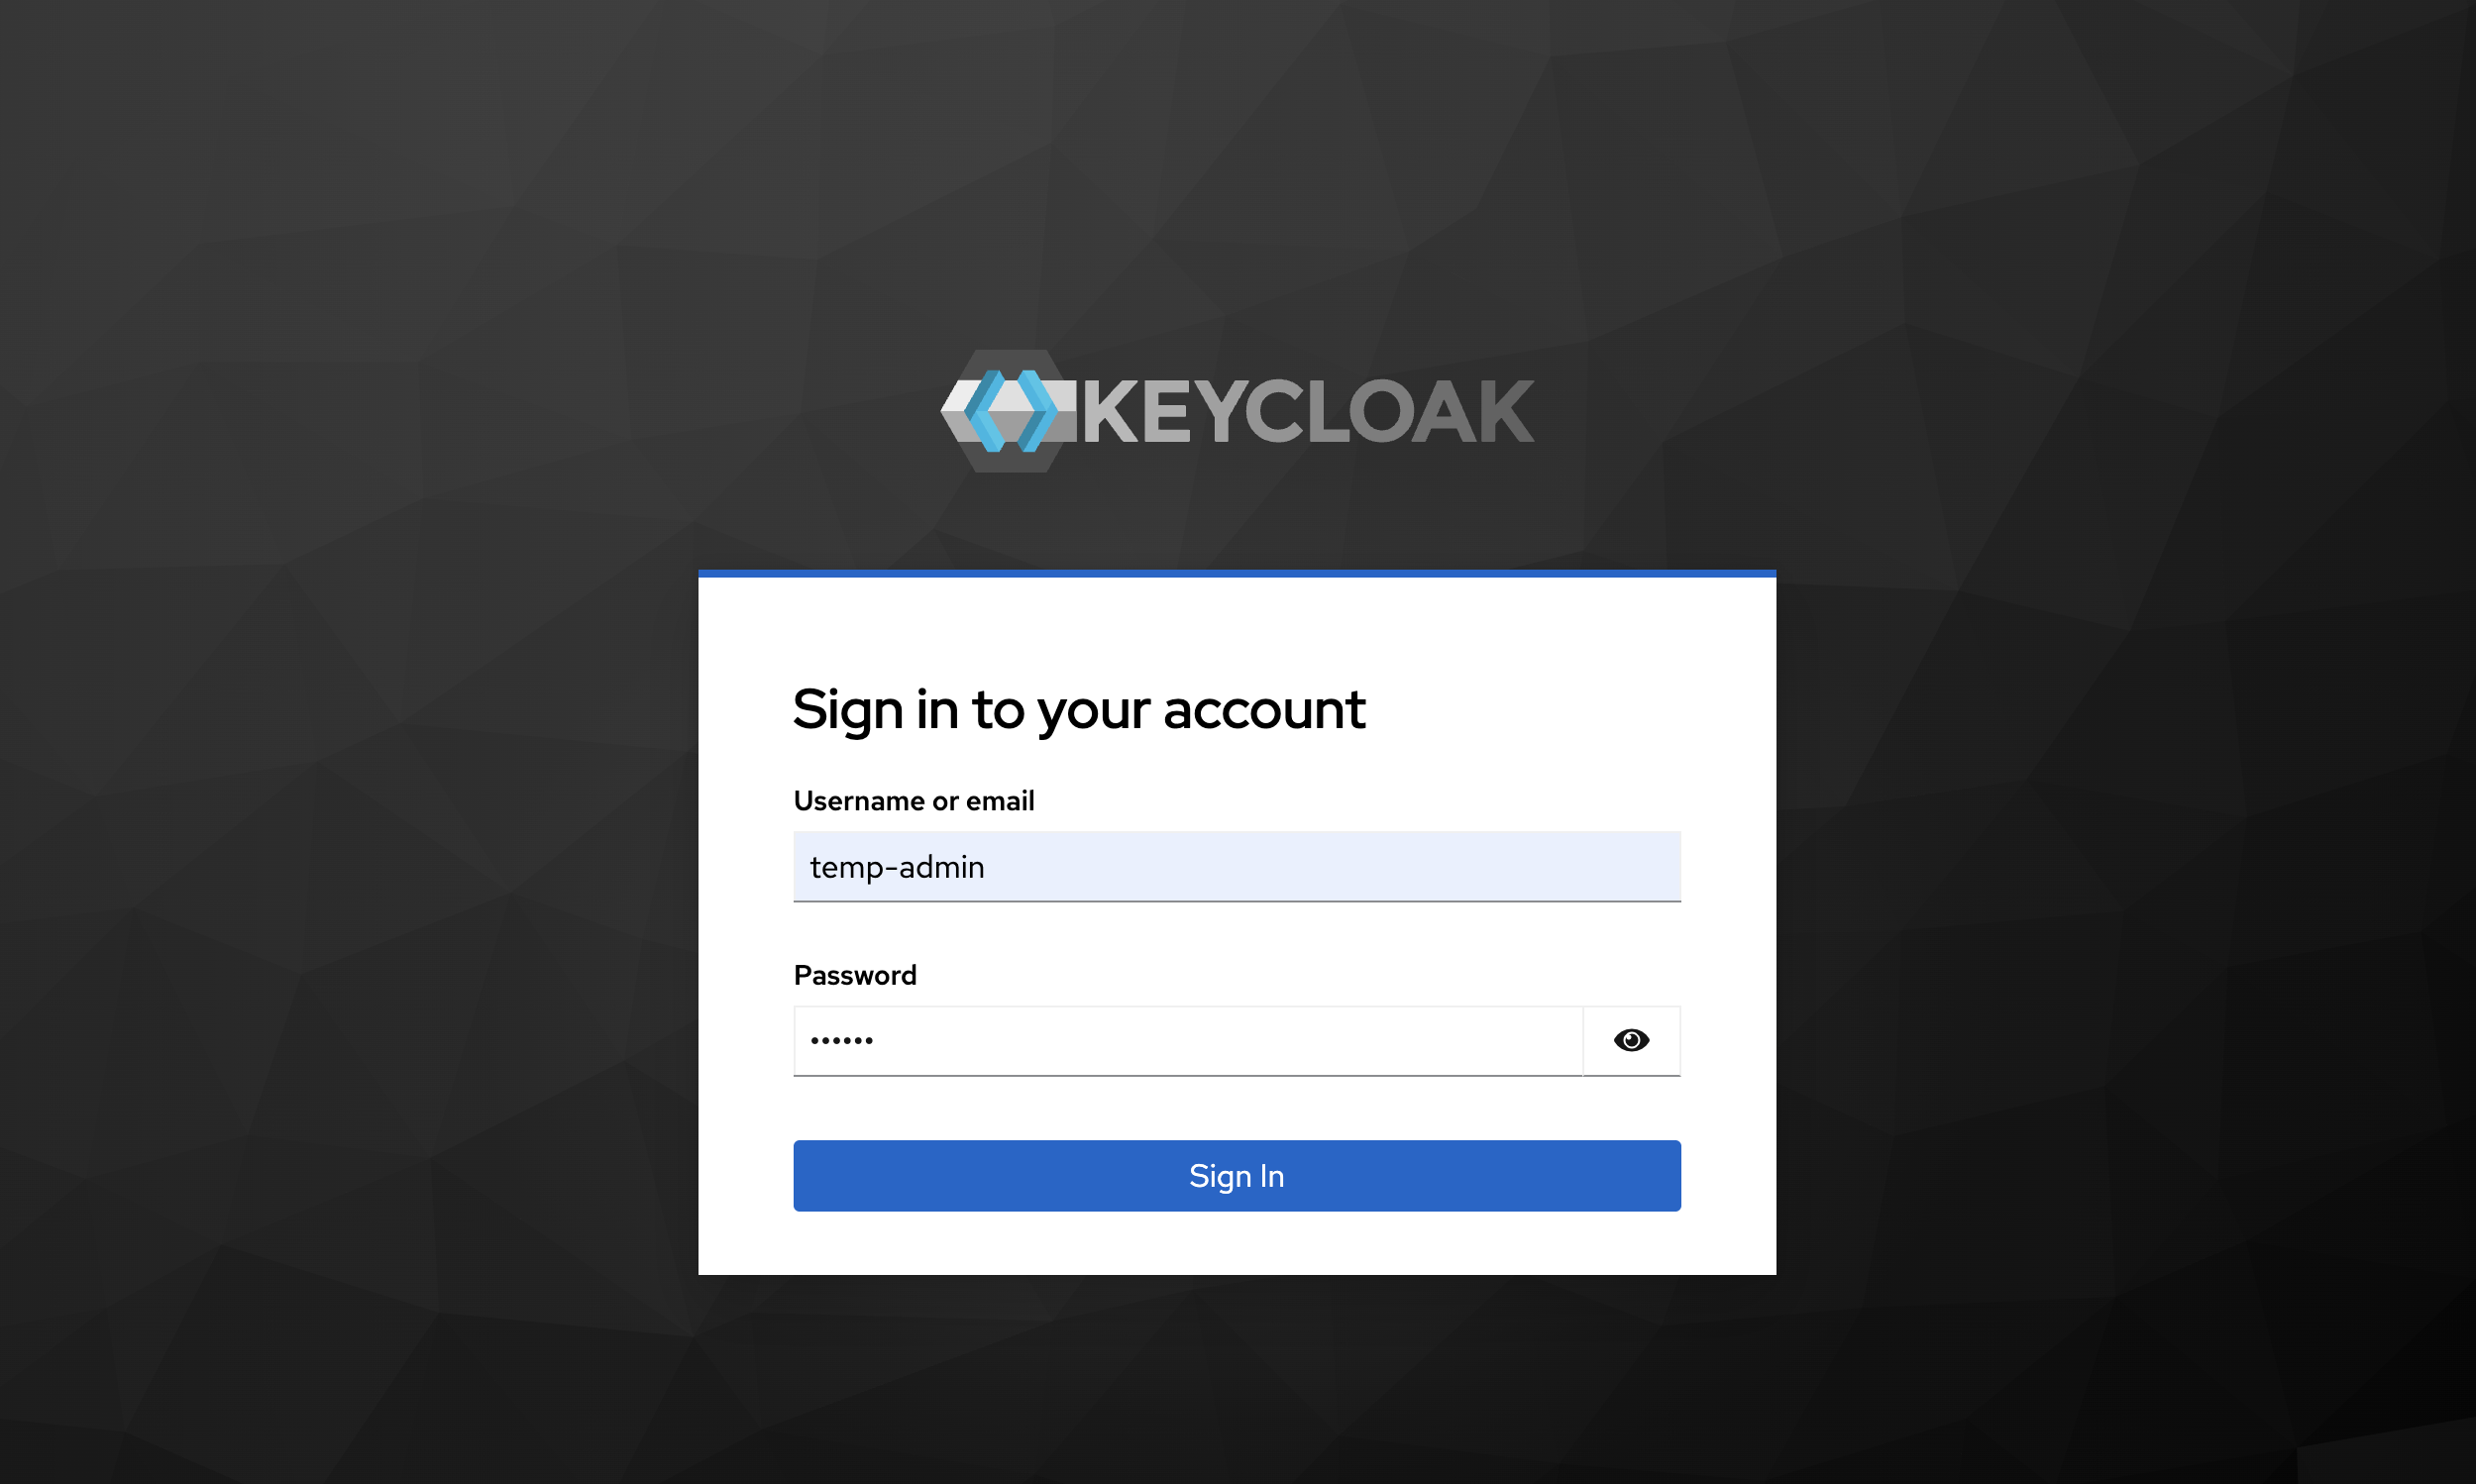
You should see something like:
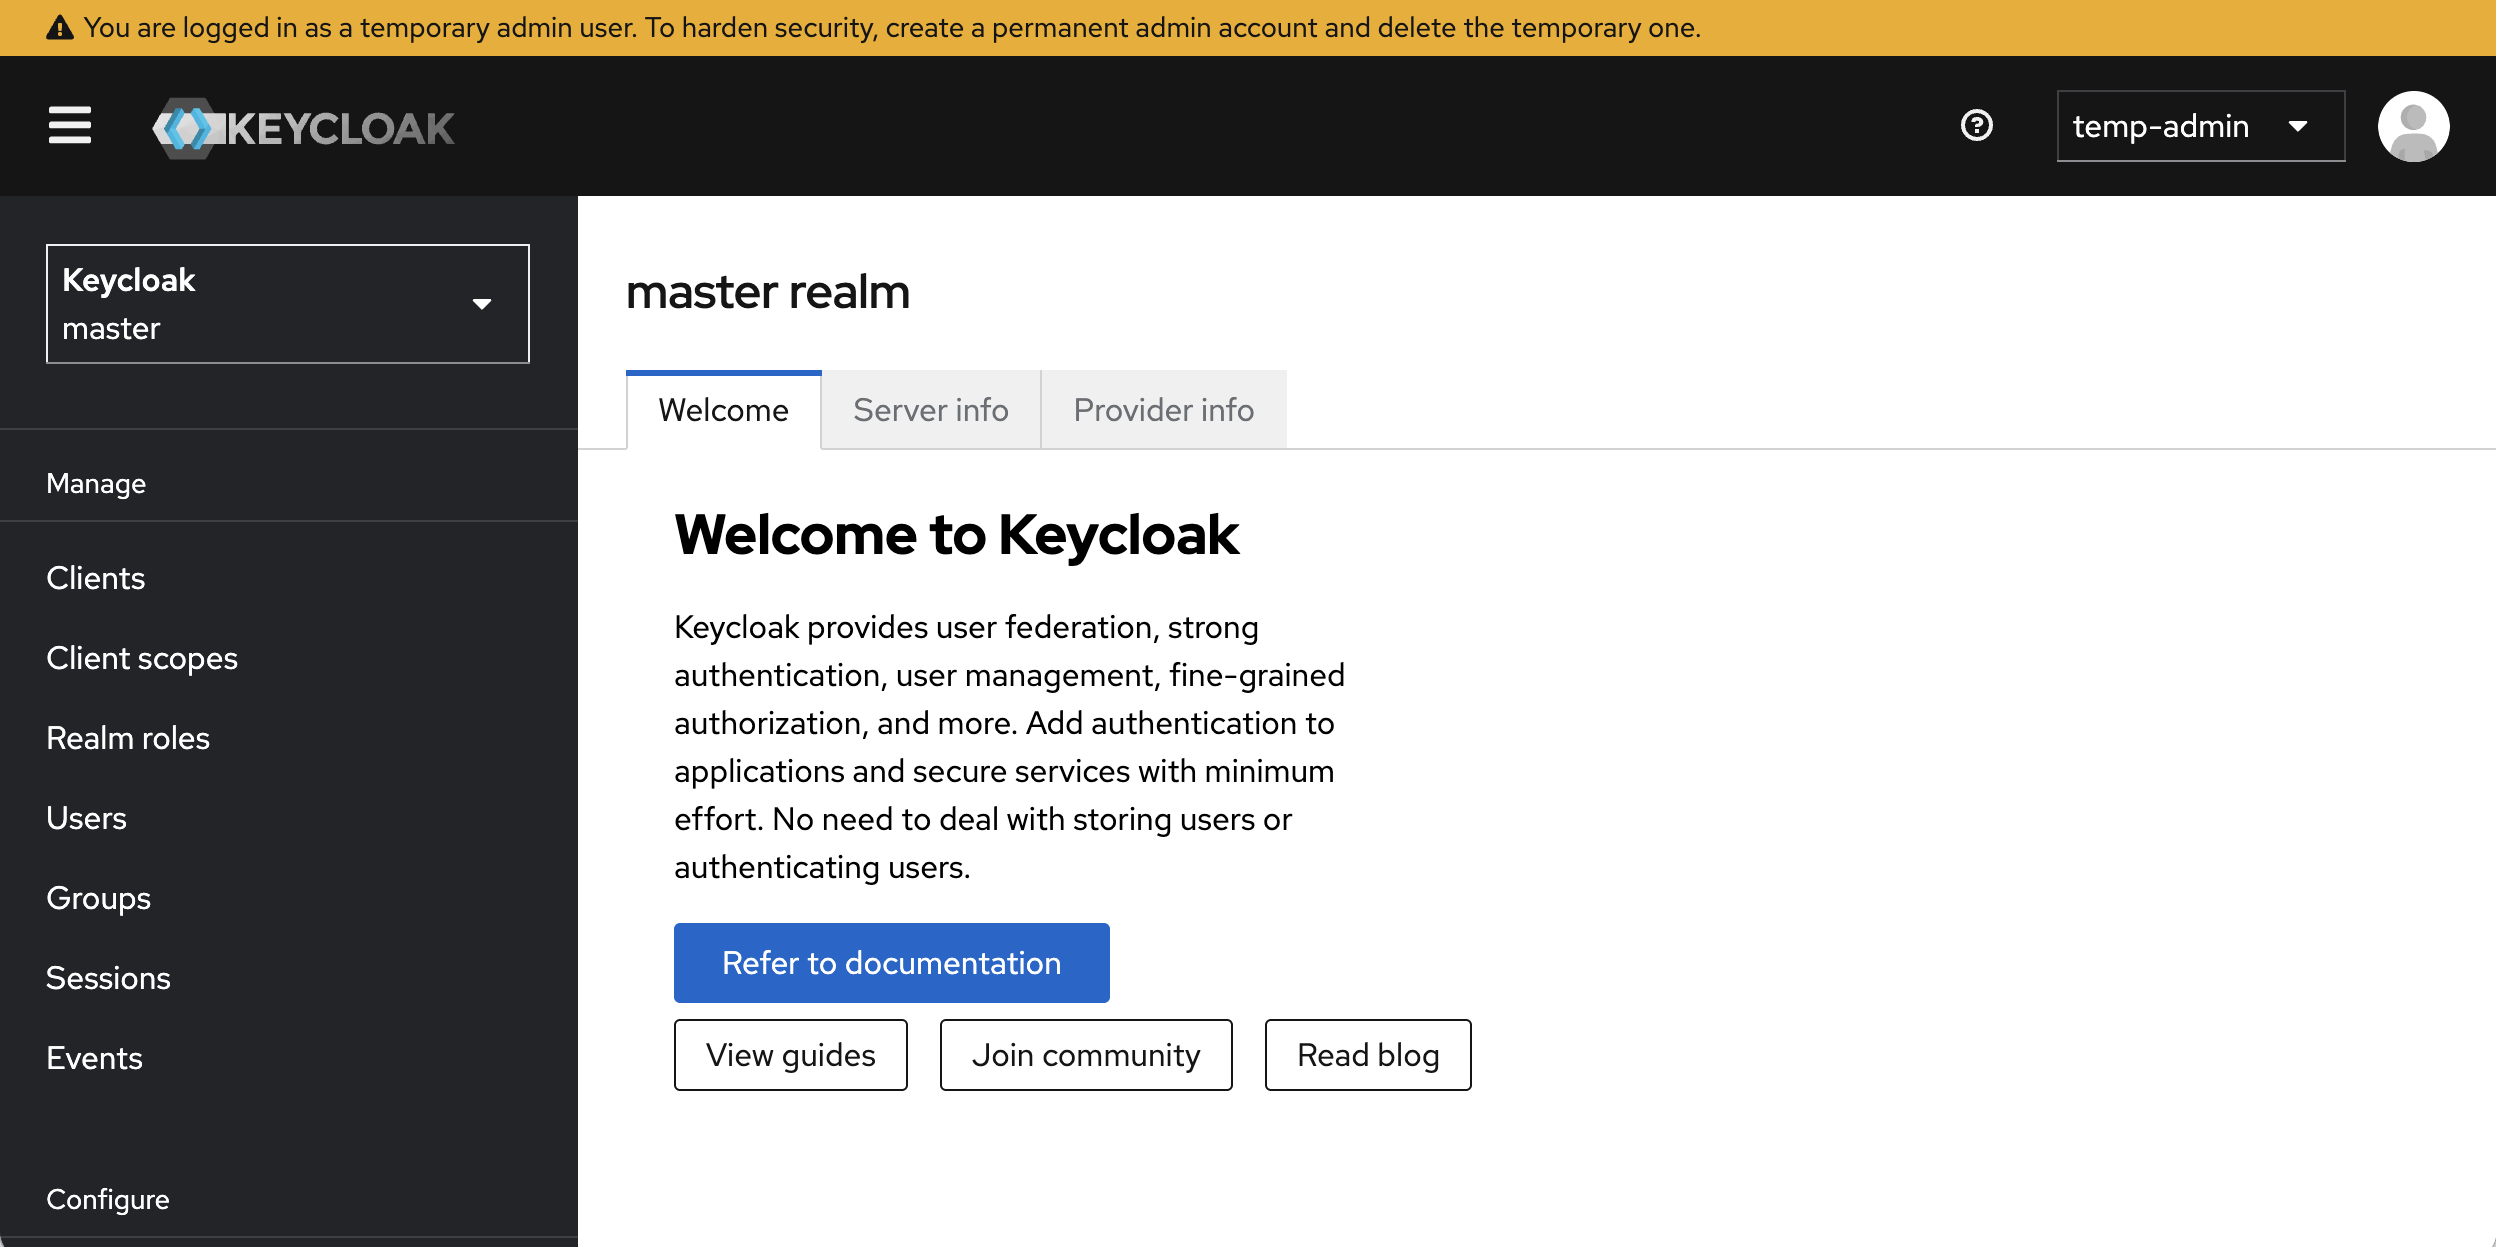
Create a permanent Admin account
When you first start Keycloak you log in using the Keycloak bootstrap username and password. You should create a permanent Admin account in the master realm and delete the temporary one.
For example:
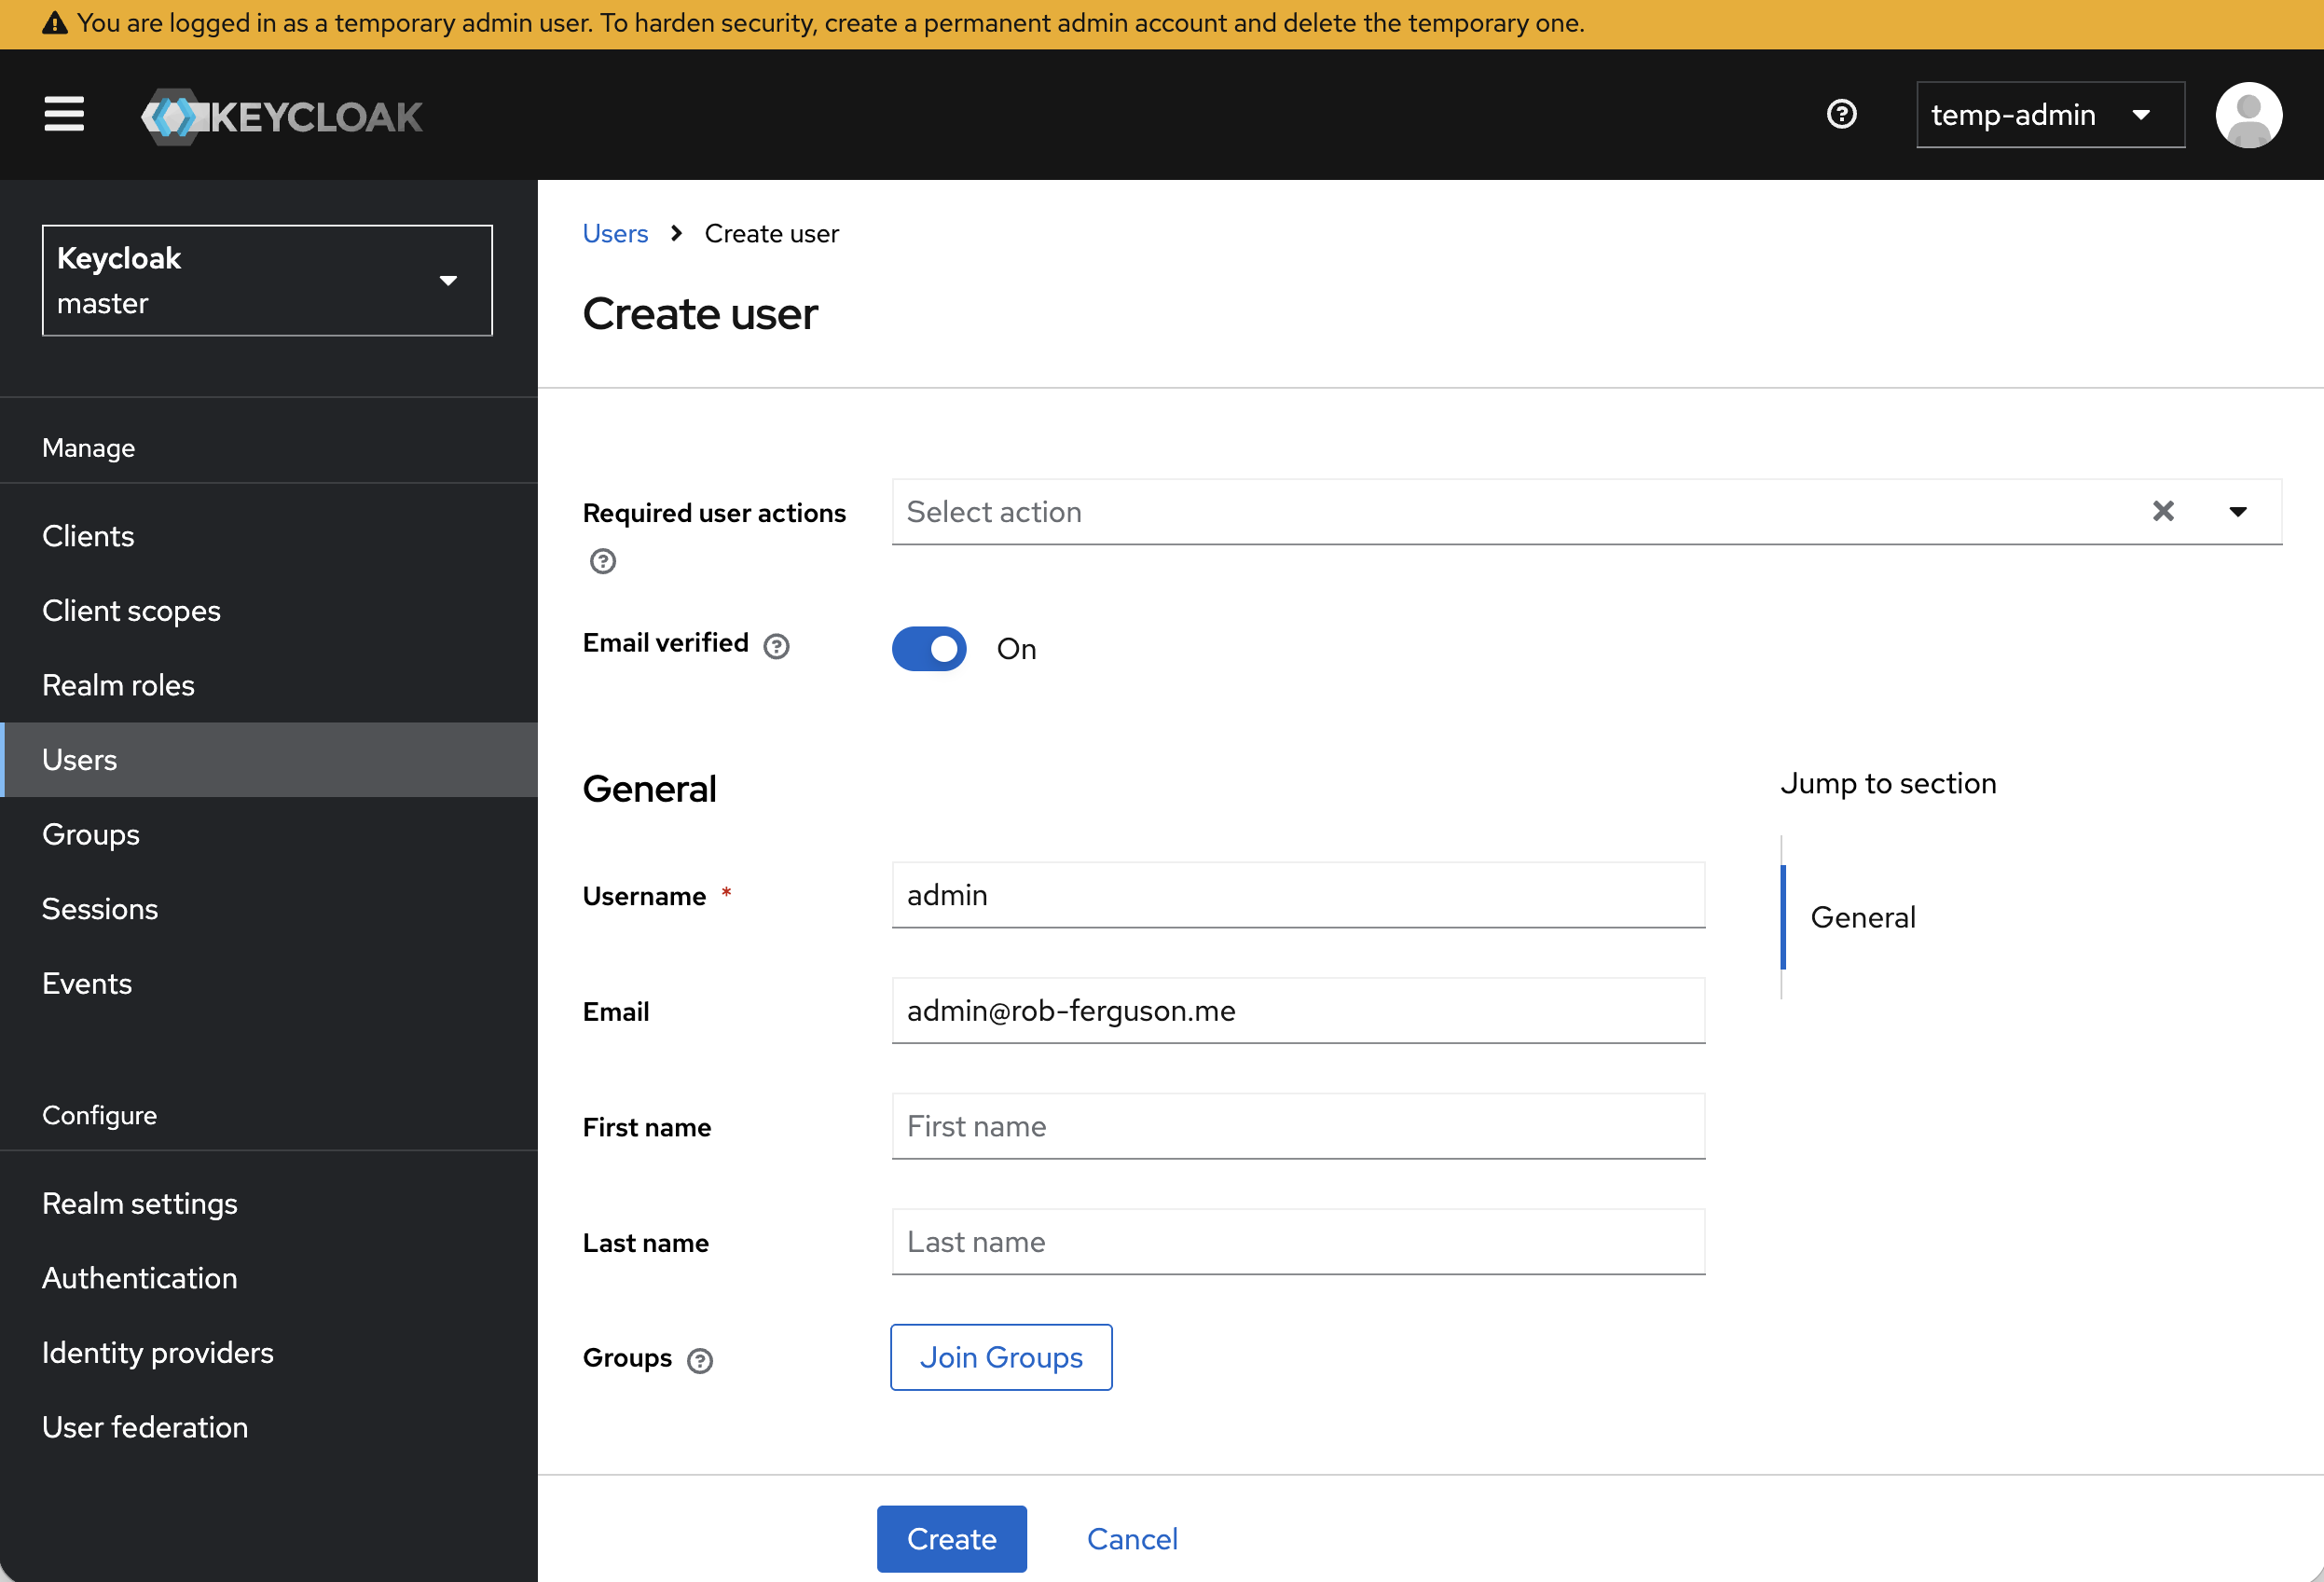
Don't forget to assign the admin role (role_admin) to the permanent admin account:
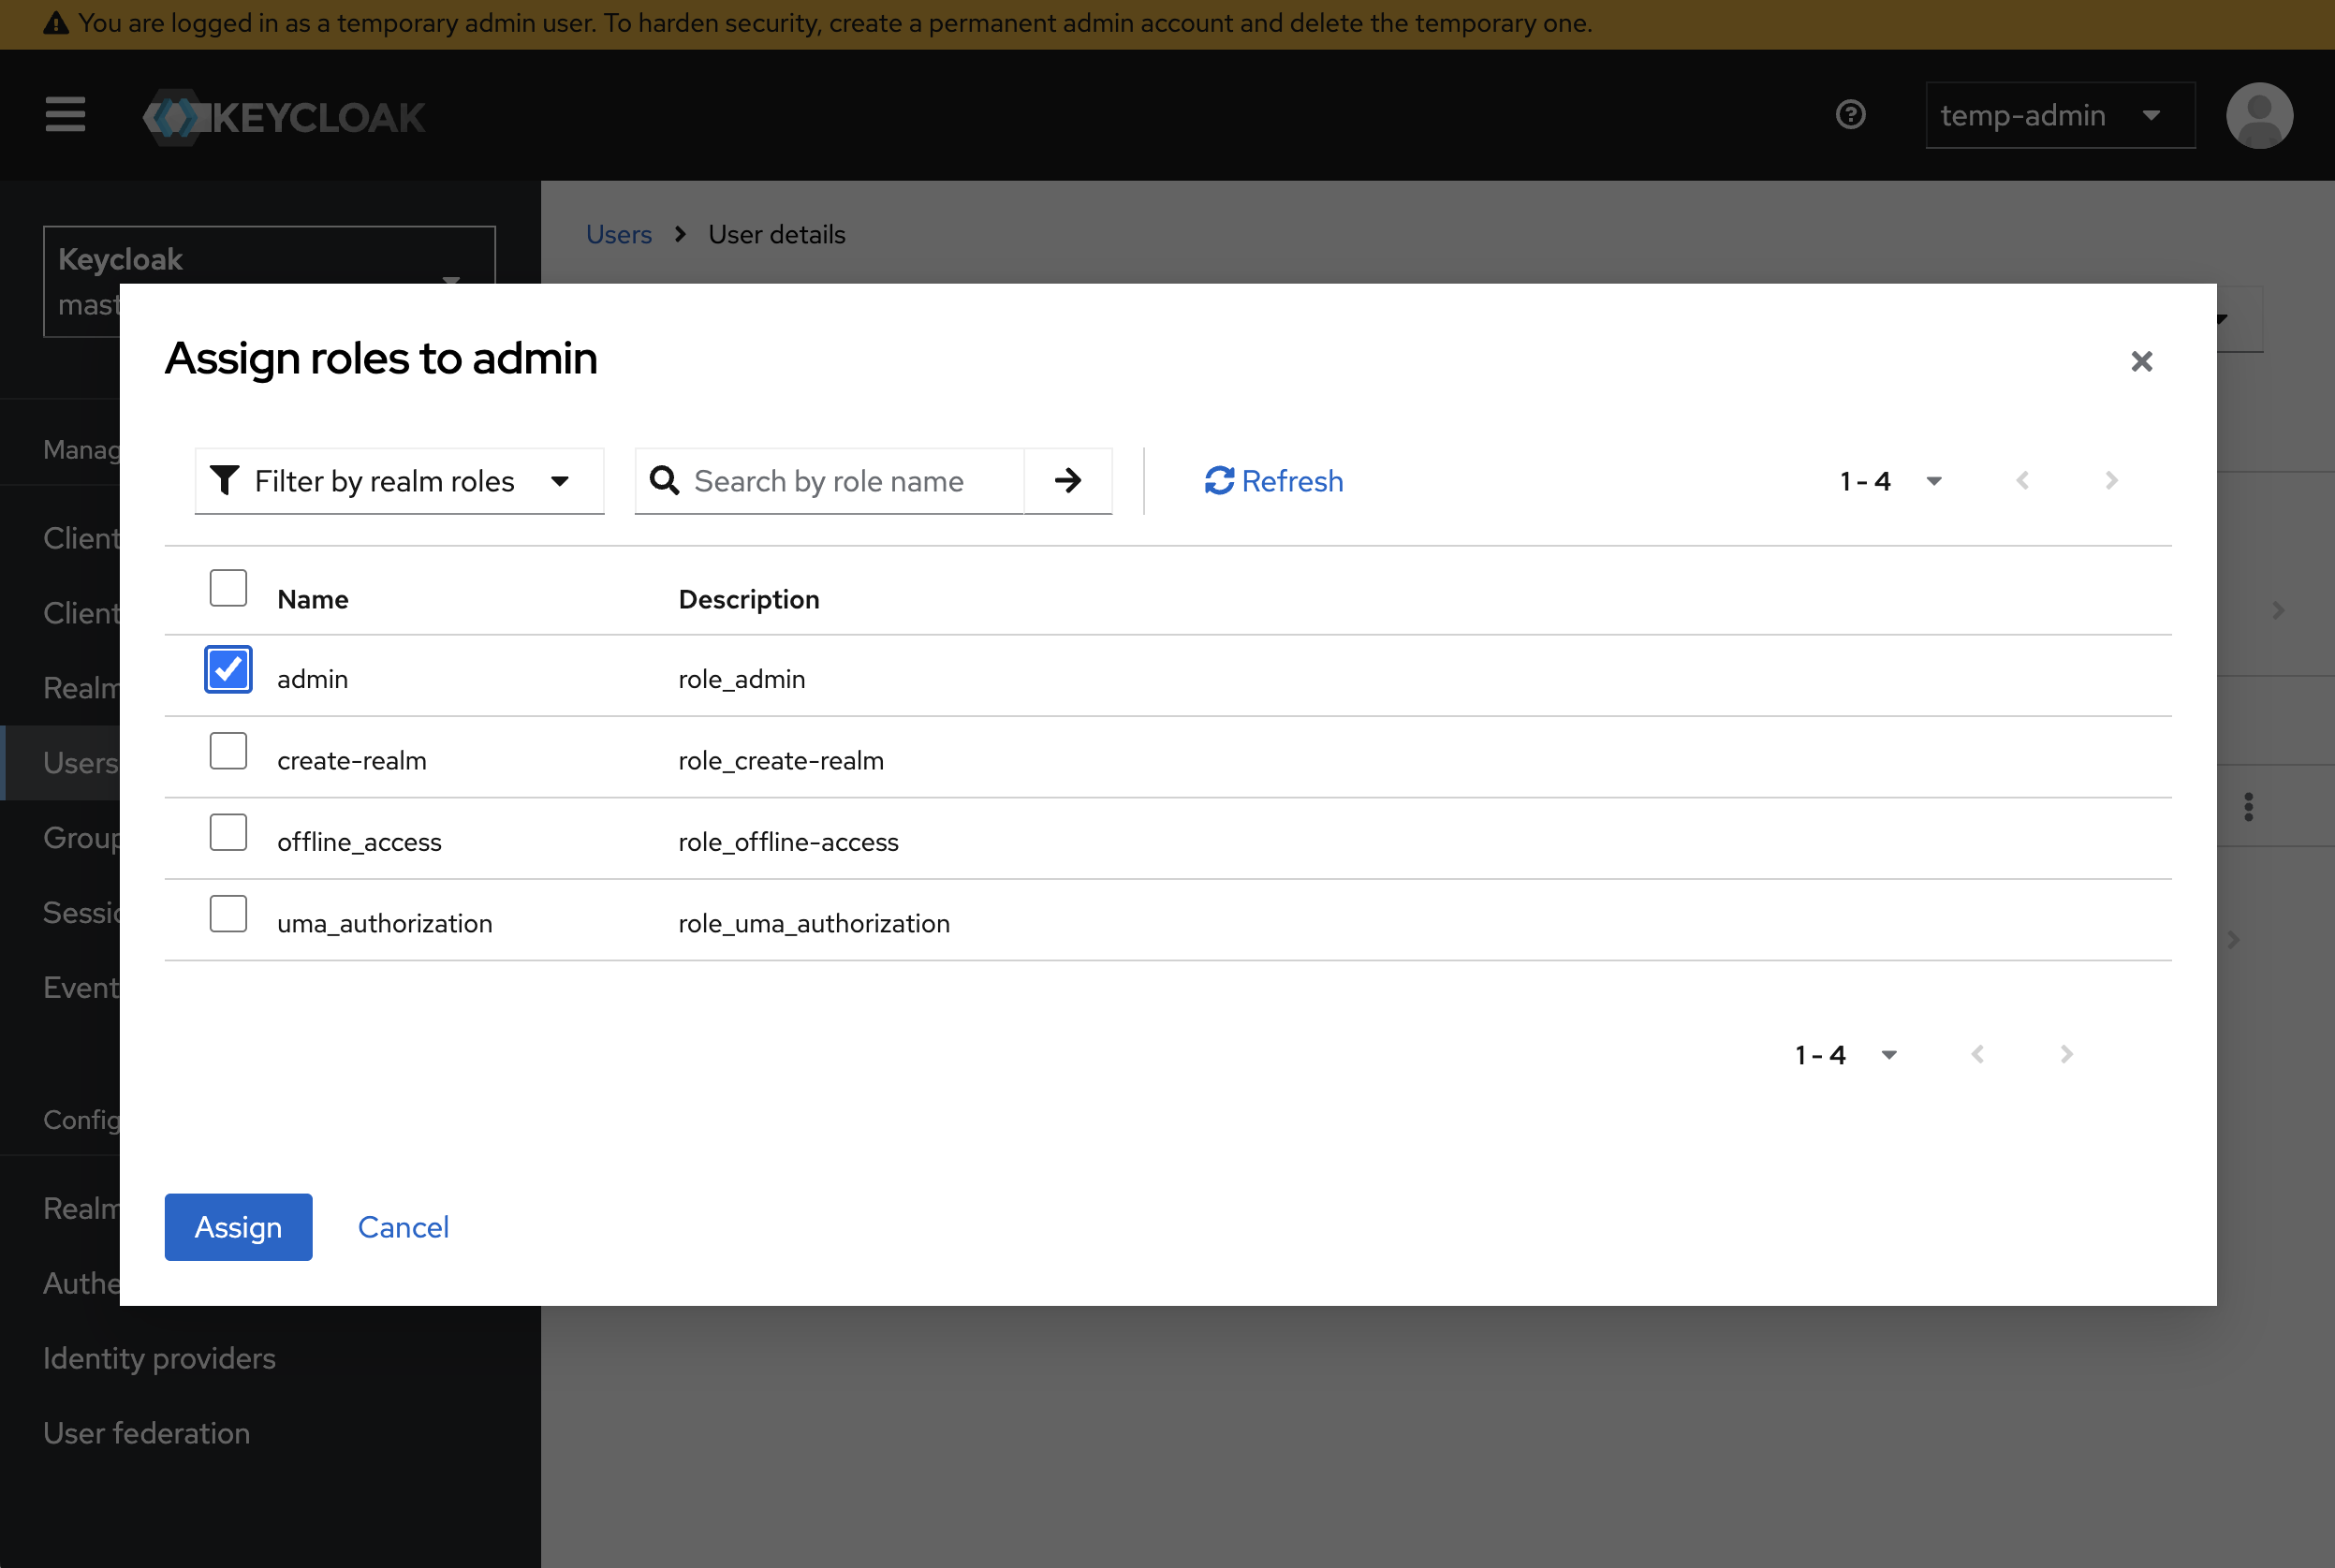
And to set a password:
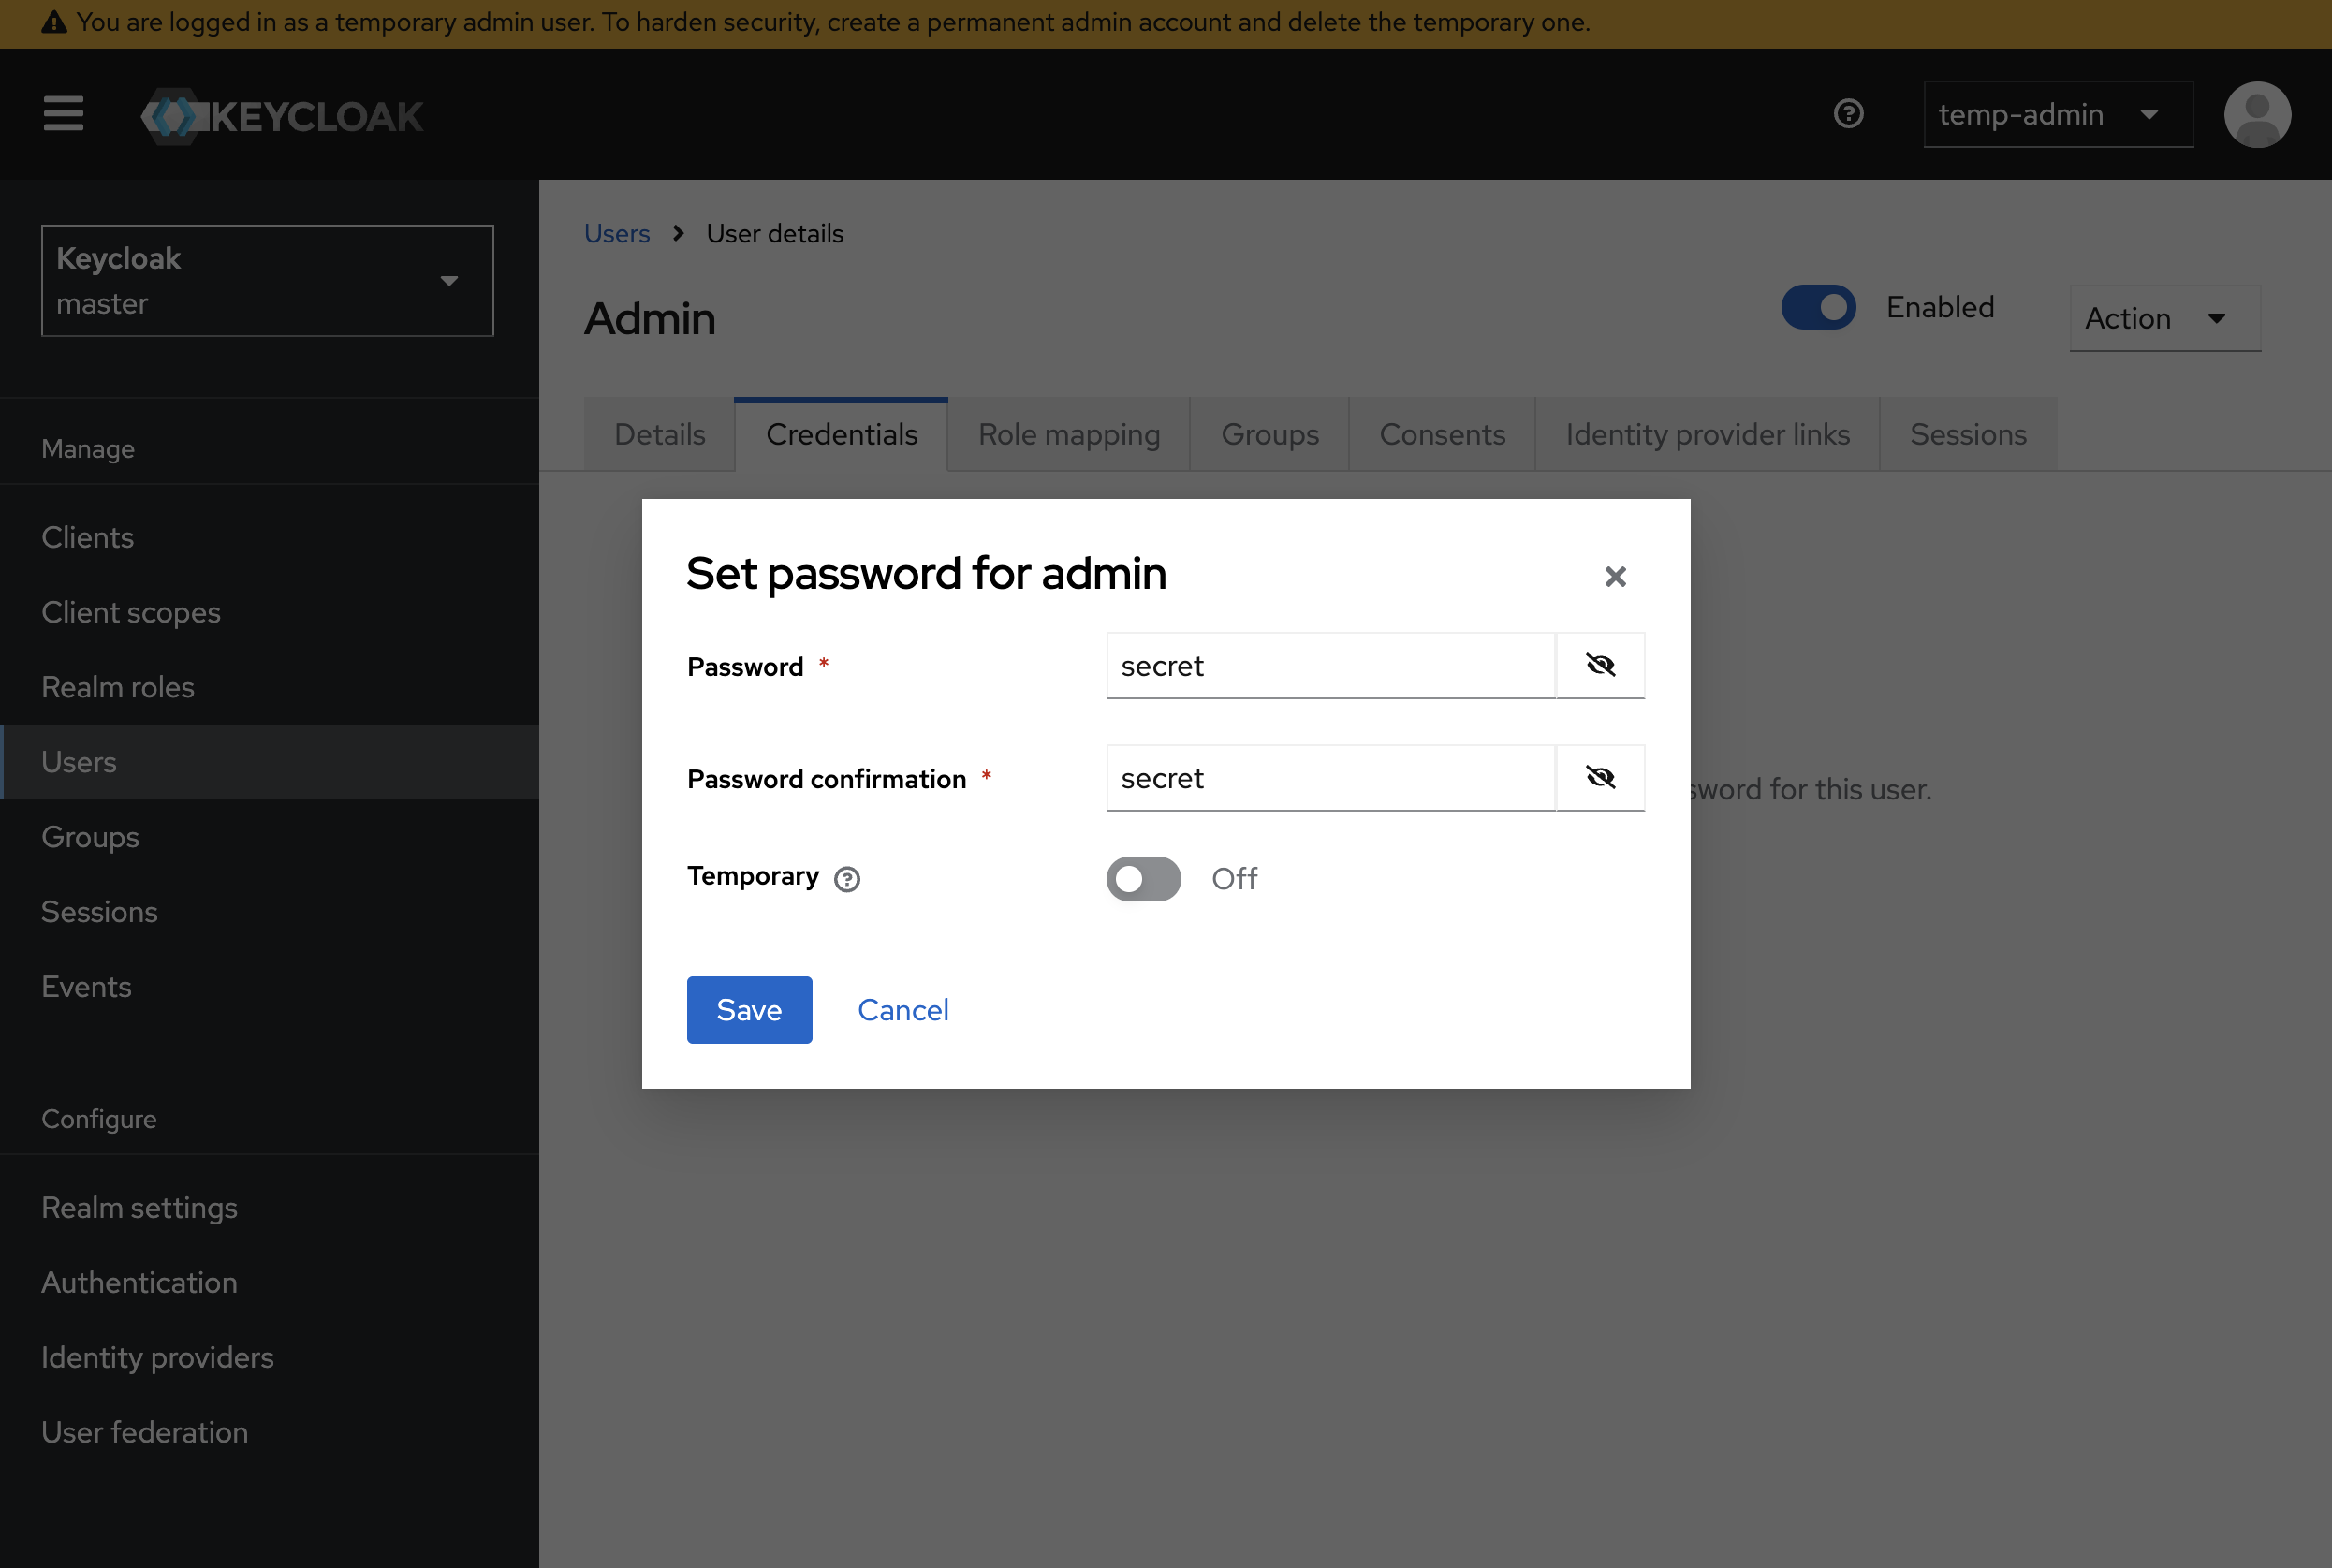
Now sign out and then sign back in using your permanent Admin account credentials.
Create a Realm
A realm in Keycloak is analogous to a tenant. Each realm allows an administrator to create (isolated) groups of
applications and users. Initially, Keycloak includes a single realm, the master realm.
The master realm should only be used to manage Keycloak.
To create a new realm, in the side menu click the dropdown menu and then click the 'Create realm' button:
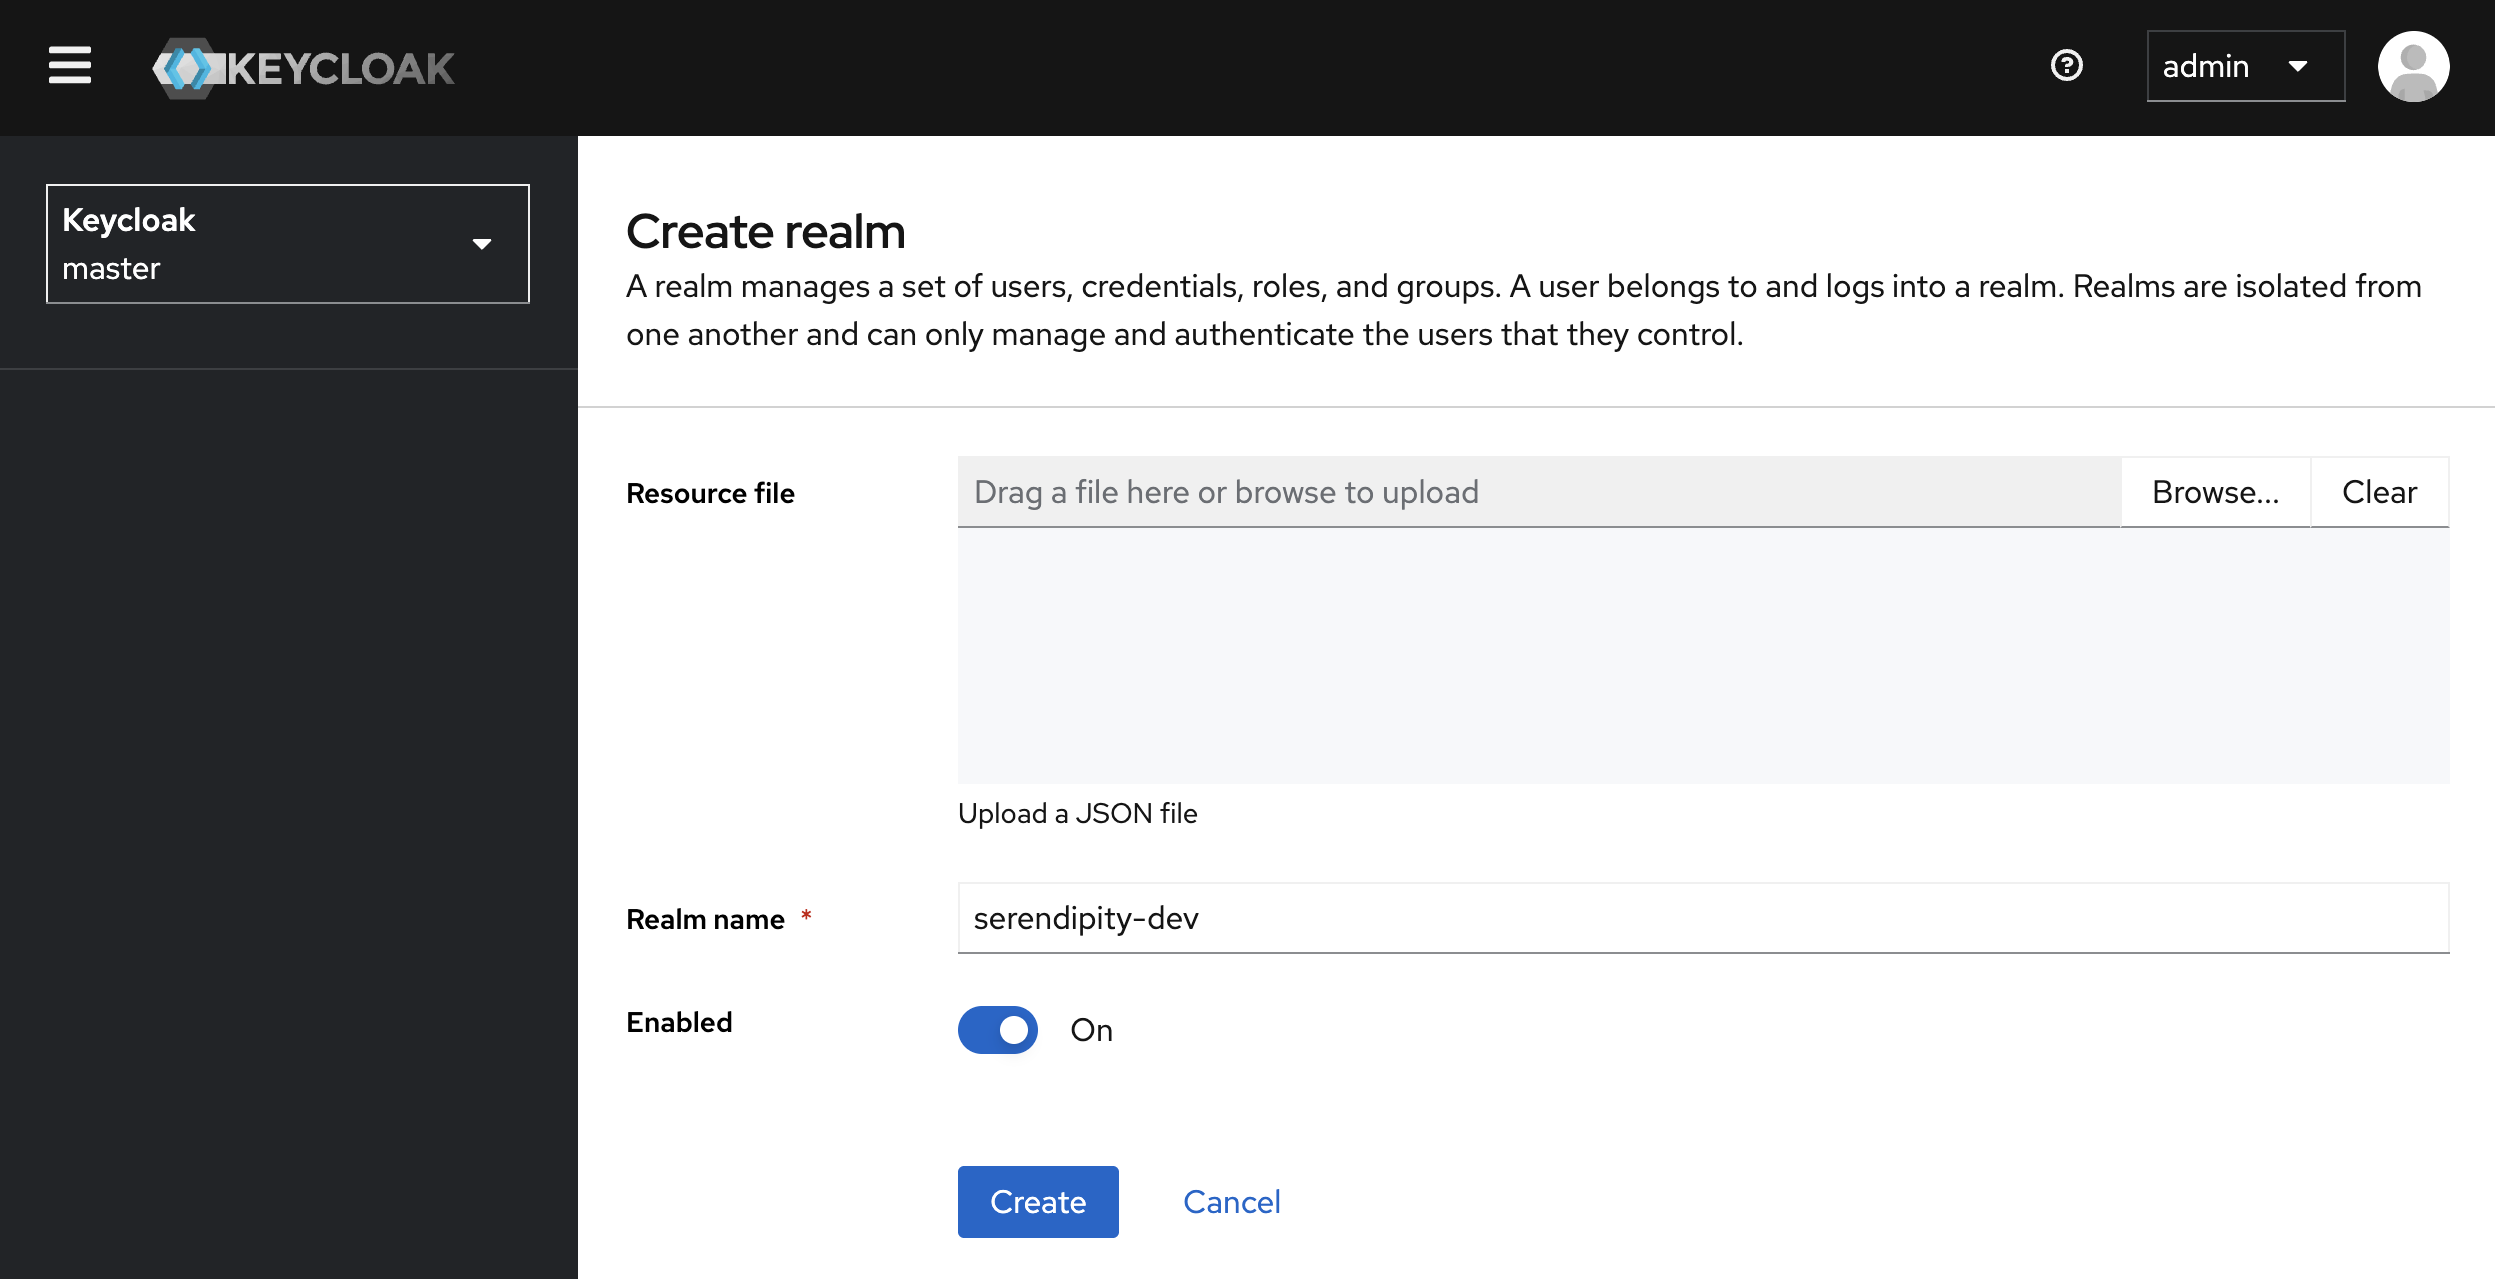
Enter a 'Realm name' (e.g., serendipity-dev) and then click the 'Create' button.
To update a realm's settings, select 'Realm settings' in the side menu:
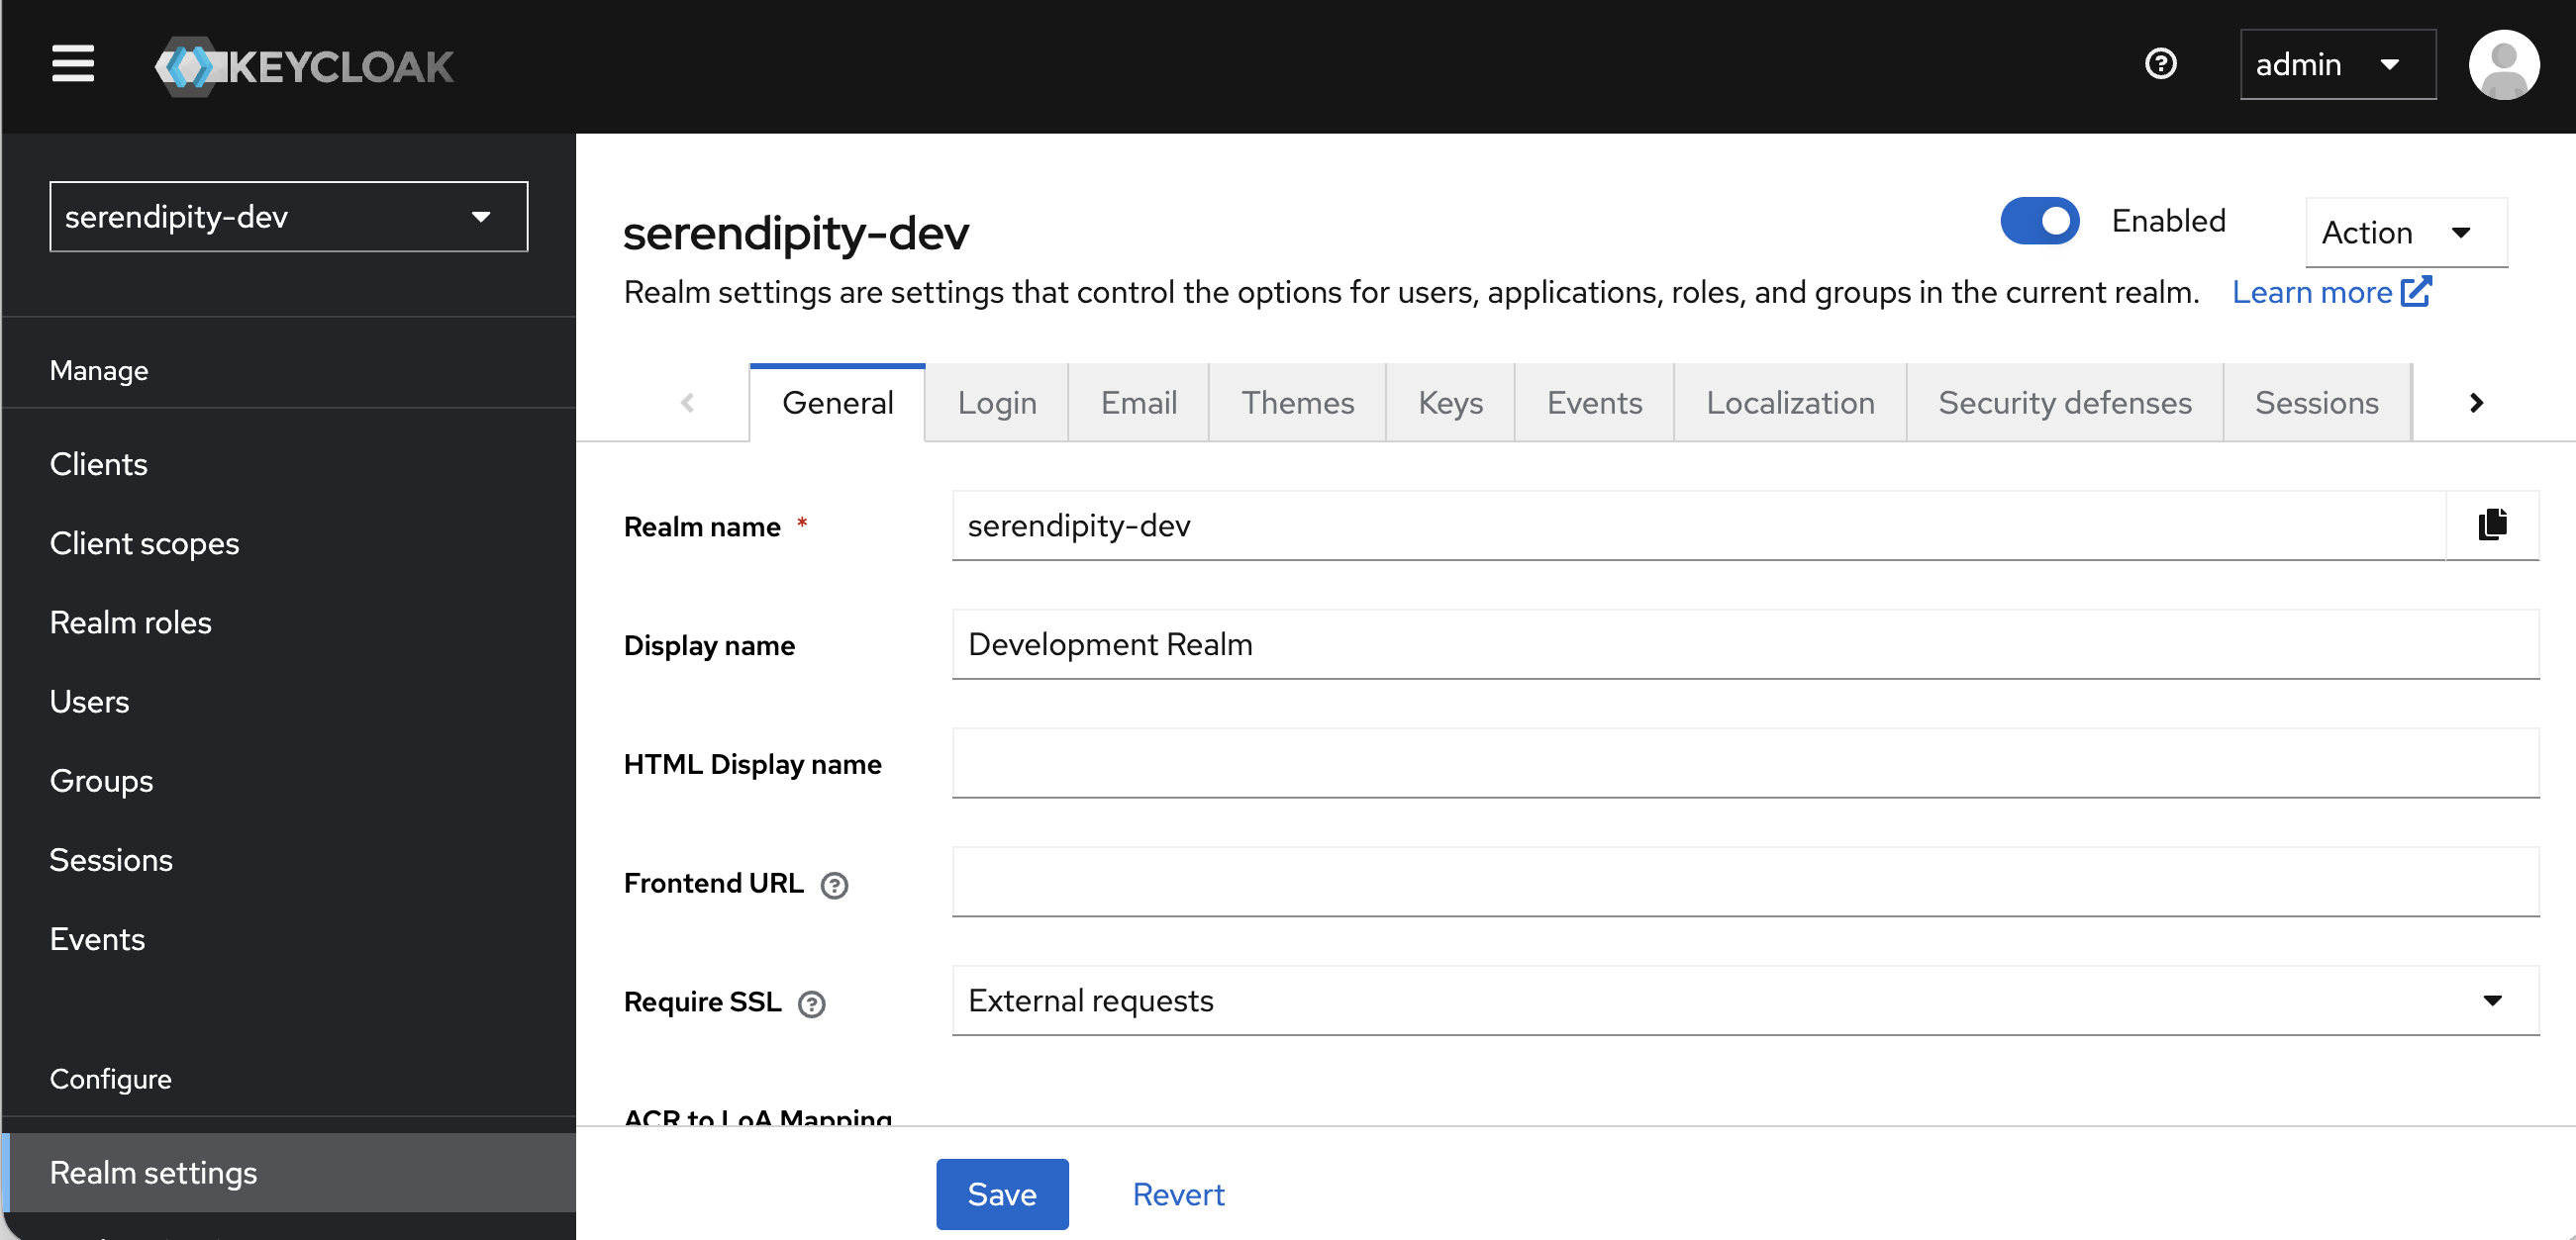
On the realm's settings 'Login' tab you can control the options for users, applications, roles, and groups in the current realm:
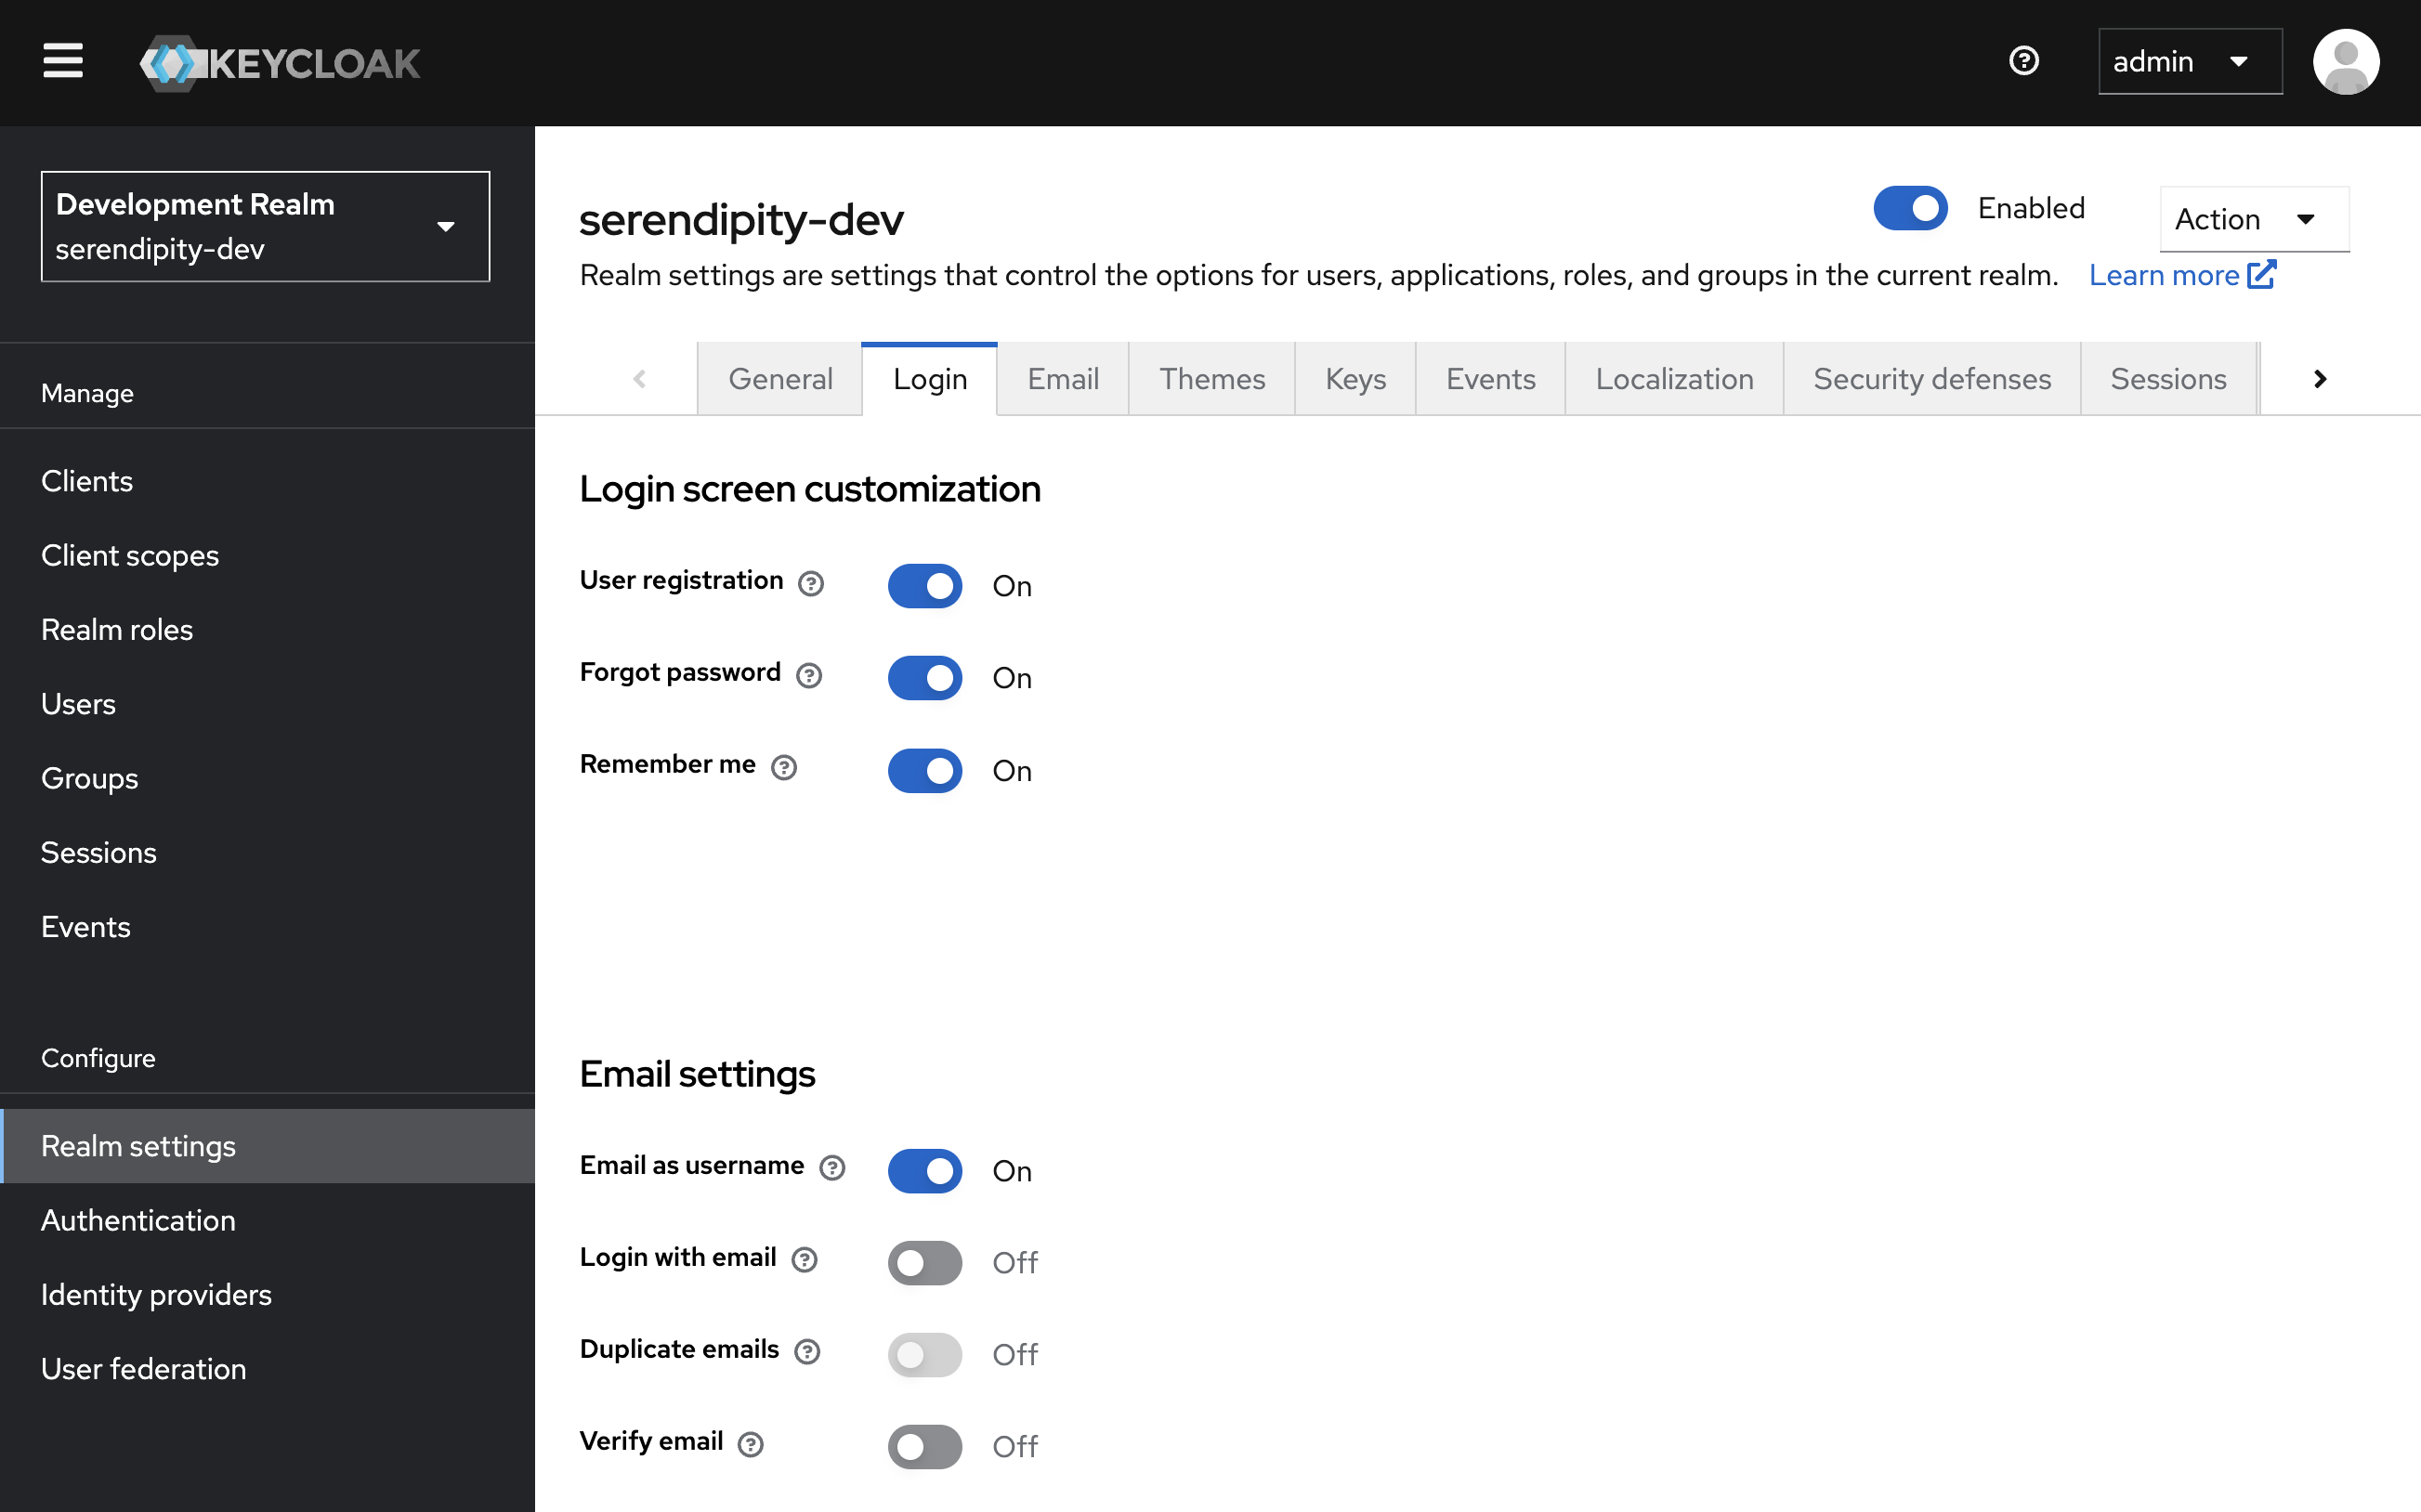
In newer versions of Keycloak (v19+ using the modern React-based Admin Console), toggles on the Login tab auto-save immediately via API requests, which is why there is no main Save button.
The new Admin Console heavily caches UI state. A hard refresh (Cmd + Shift + R on Mac, Ctrl + F5 on Windows) often reveals that the setting did save on the backend even though the frontend UI showed it toggled back off.
Create a User
Verify that you are in the correct realm e.g., the Development Realm (serendipity-dev).
To create a new user, select 'Users' in the side menu and then click the 'Create new user' button:
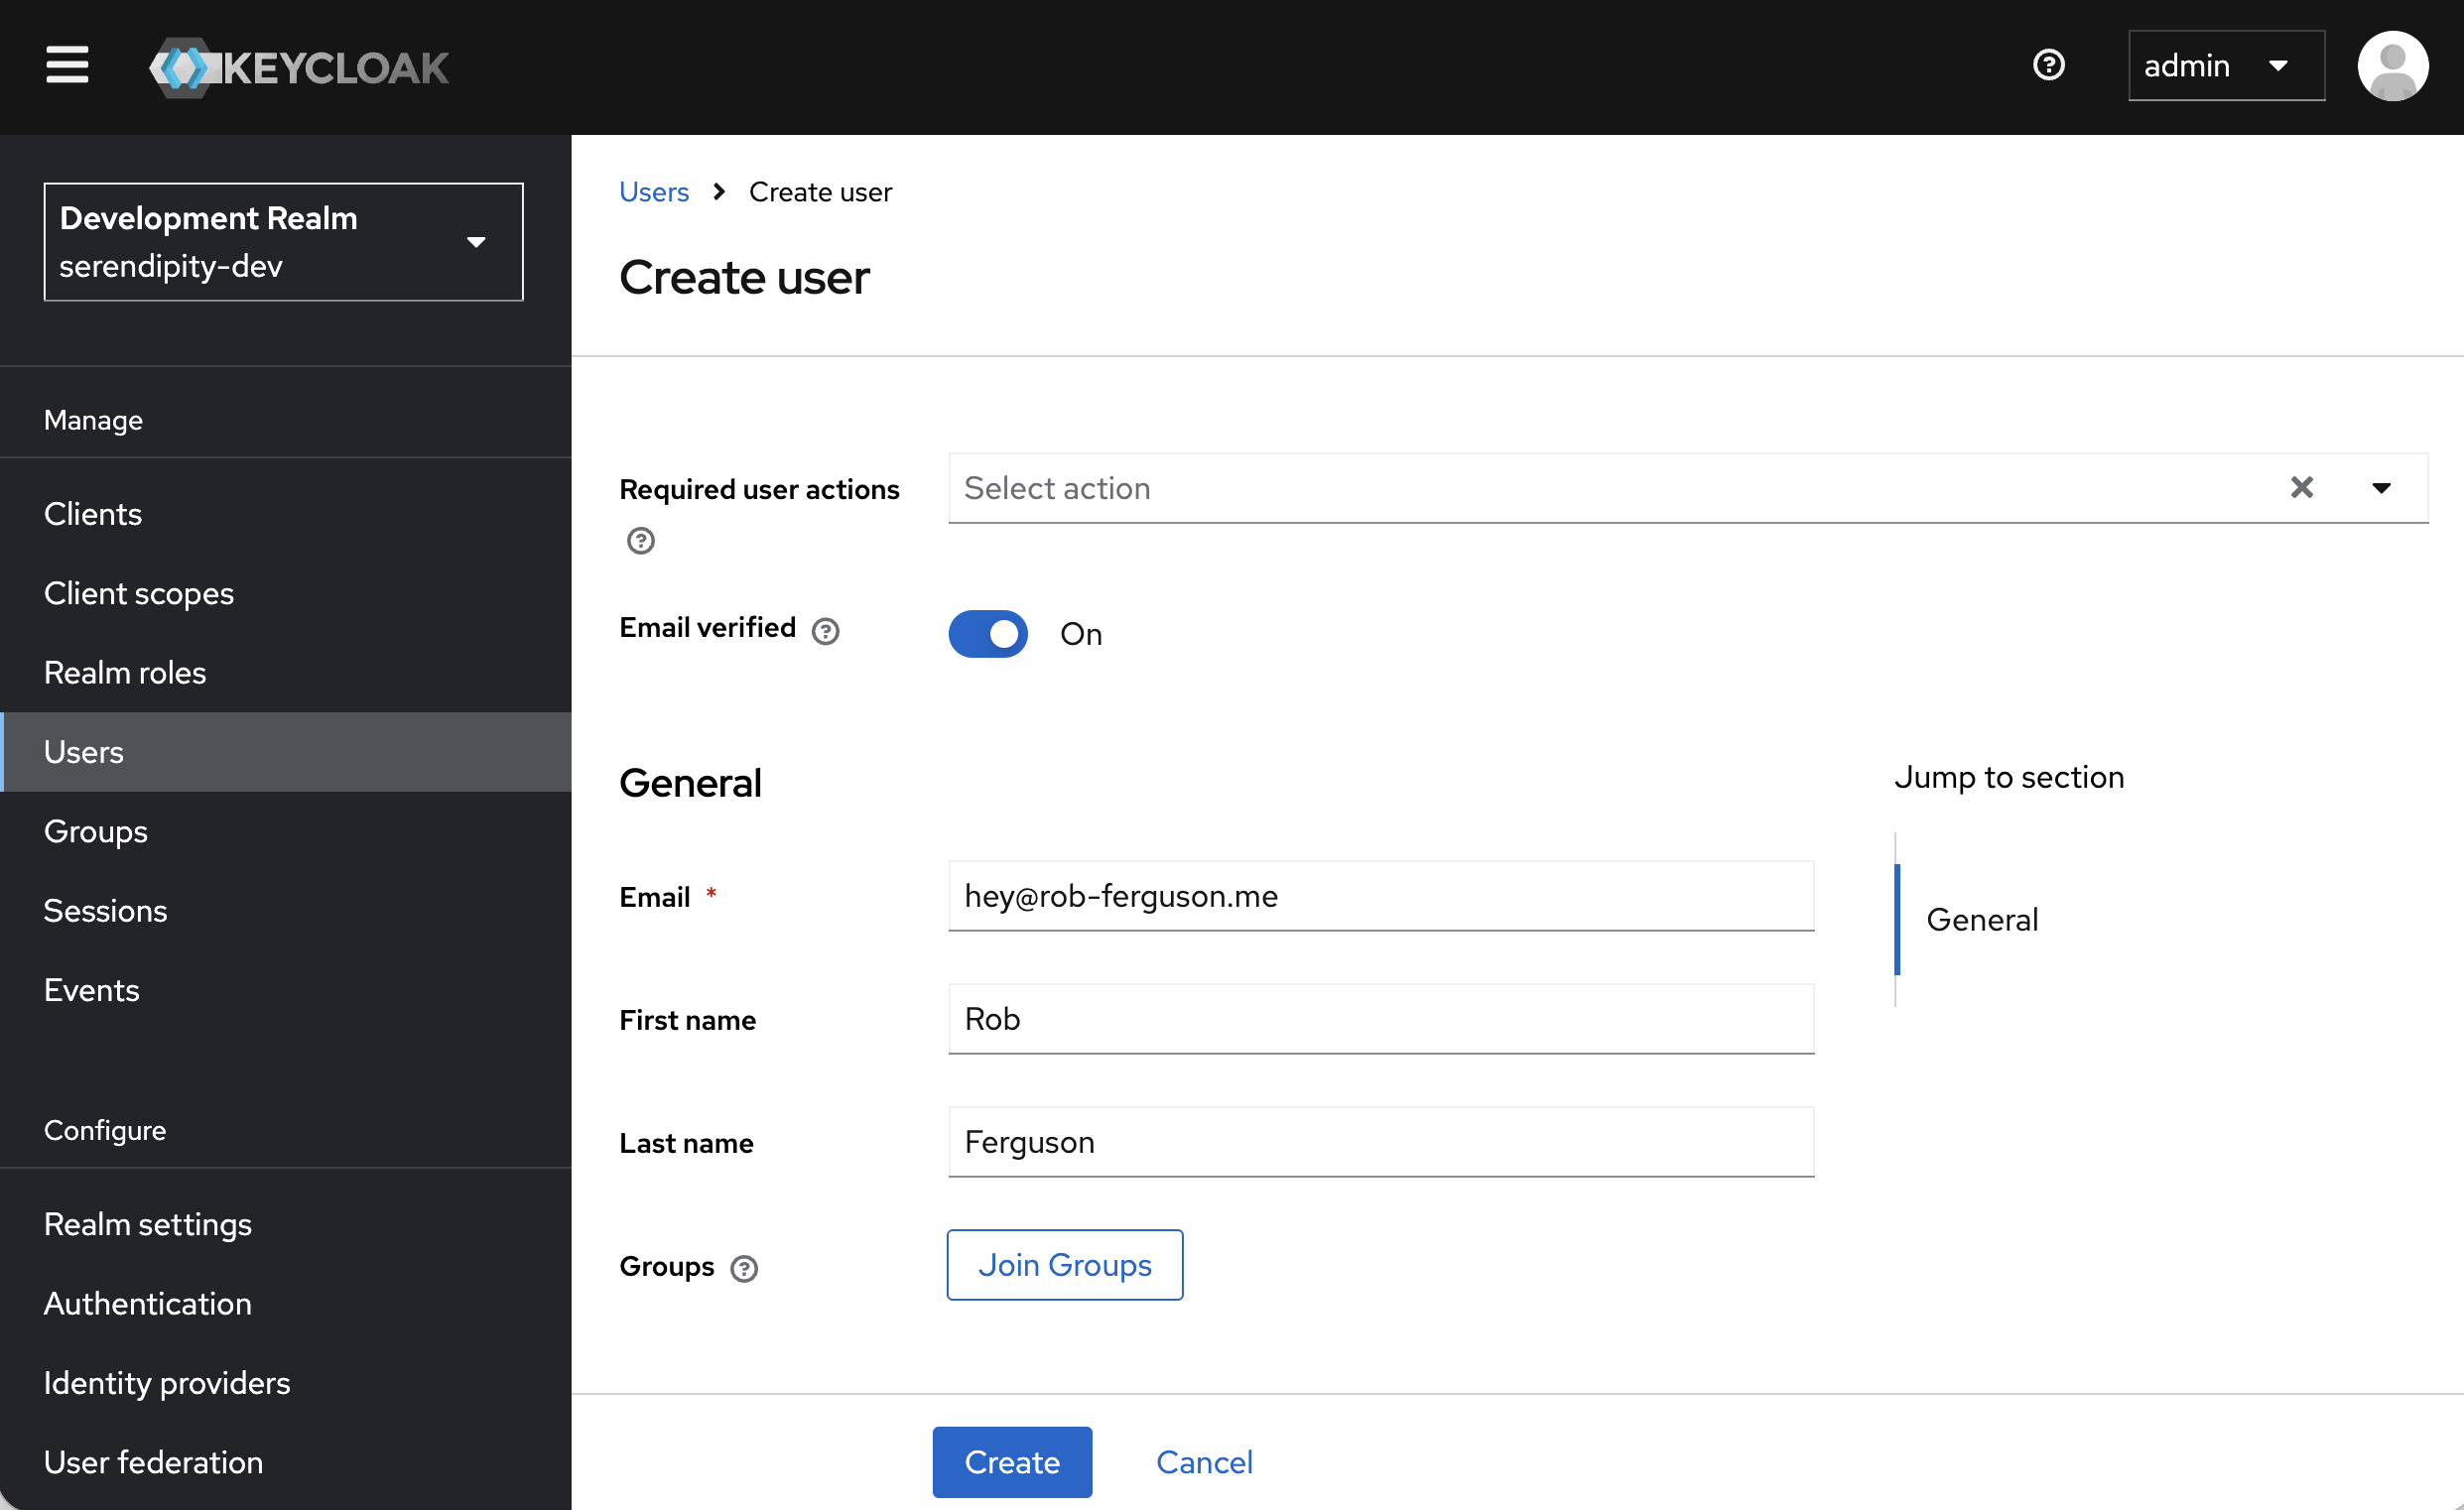
Enable the 'Email verified' slide toggle and enter an email address, a first name (i.e., given name), a last name (i.e., family name) and then click the 'Create' button.
A user needs a password to sign in.
To create a password, select the 'Credentials' tab and then click the 'Set password' button:
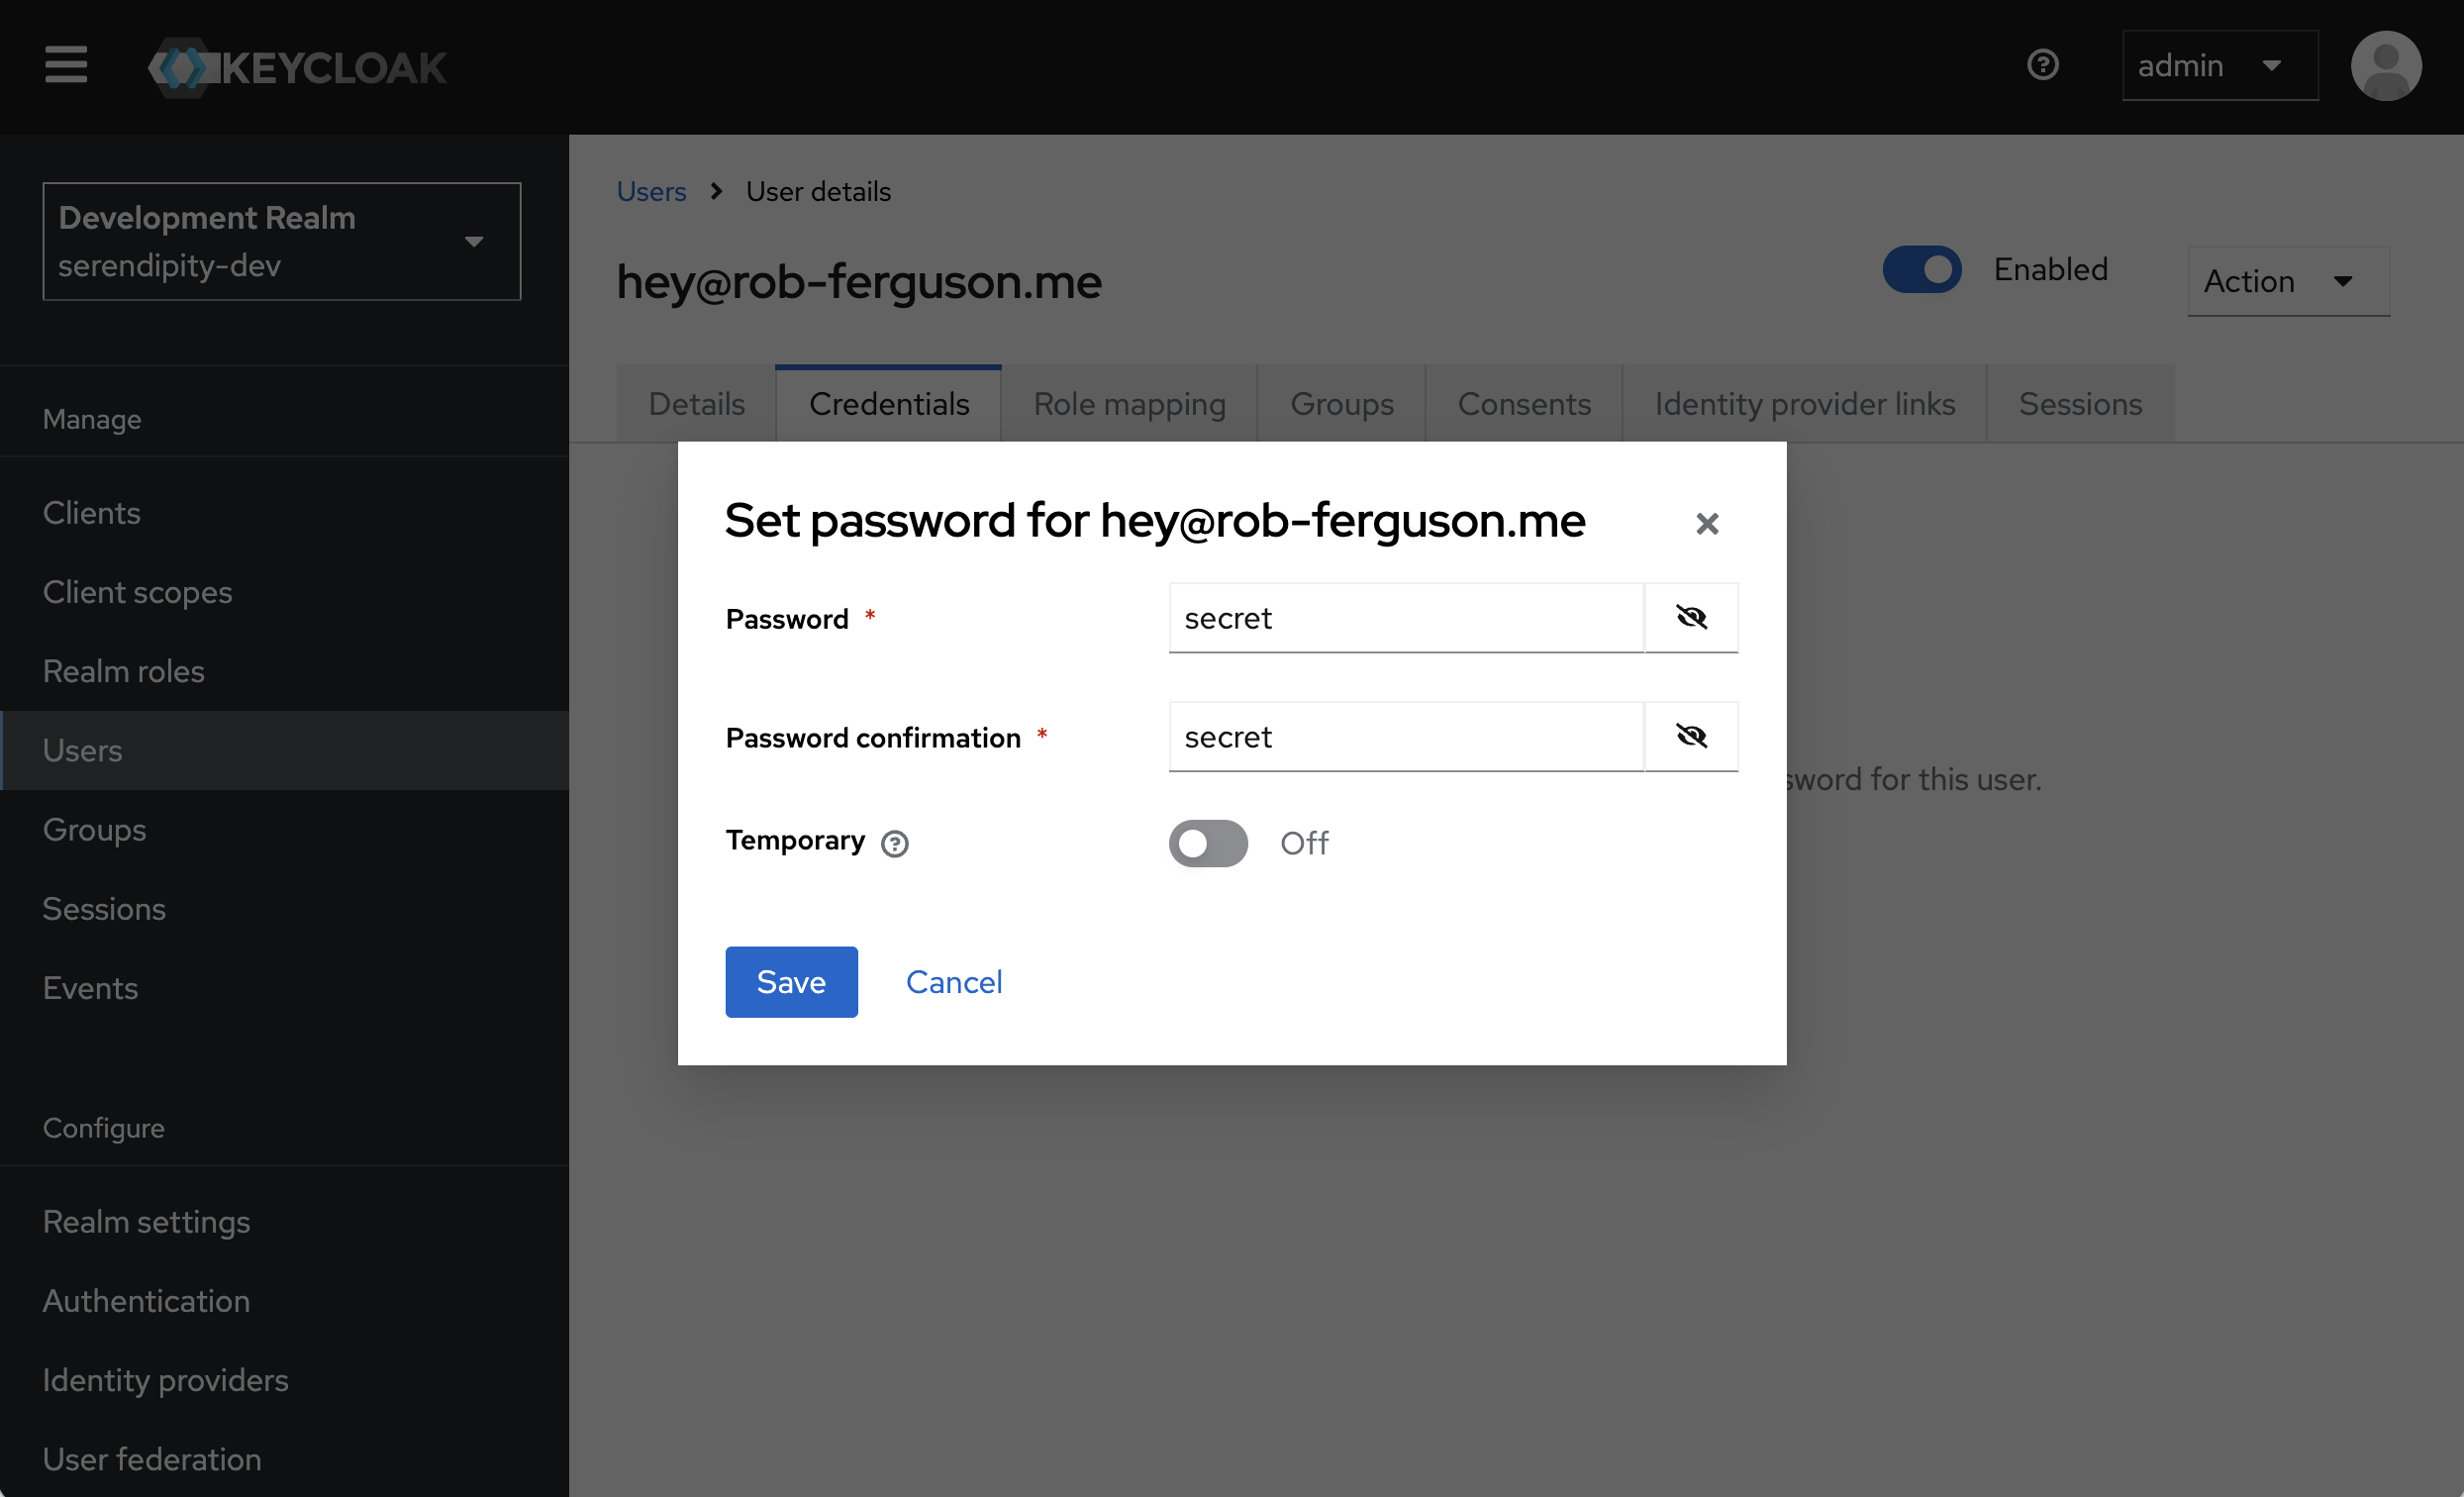
Enter a password, confirm the password and disable the 'Temporary' slide toggle (so that the user does not need to update the password the first time they sign in) and then click the 'Save' button.
Navigate to the Keycloak Account Console:
https://serendipity-identity-service.localhost:8443/realms/serendipity-dev/account
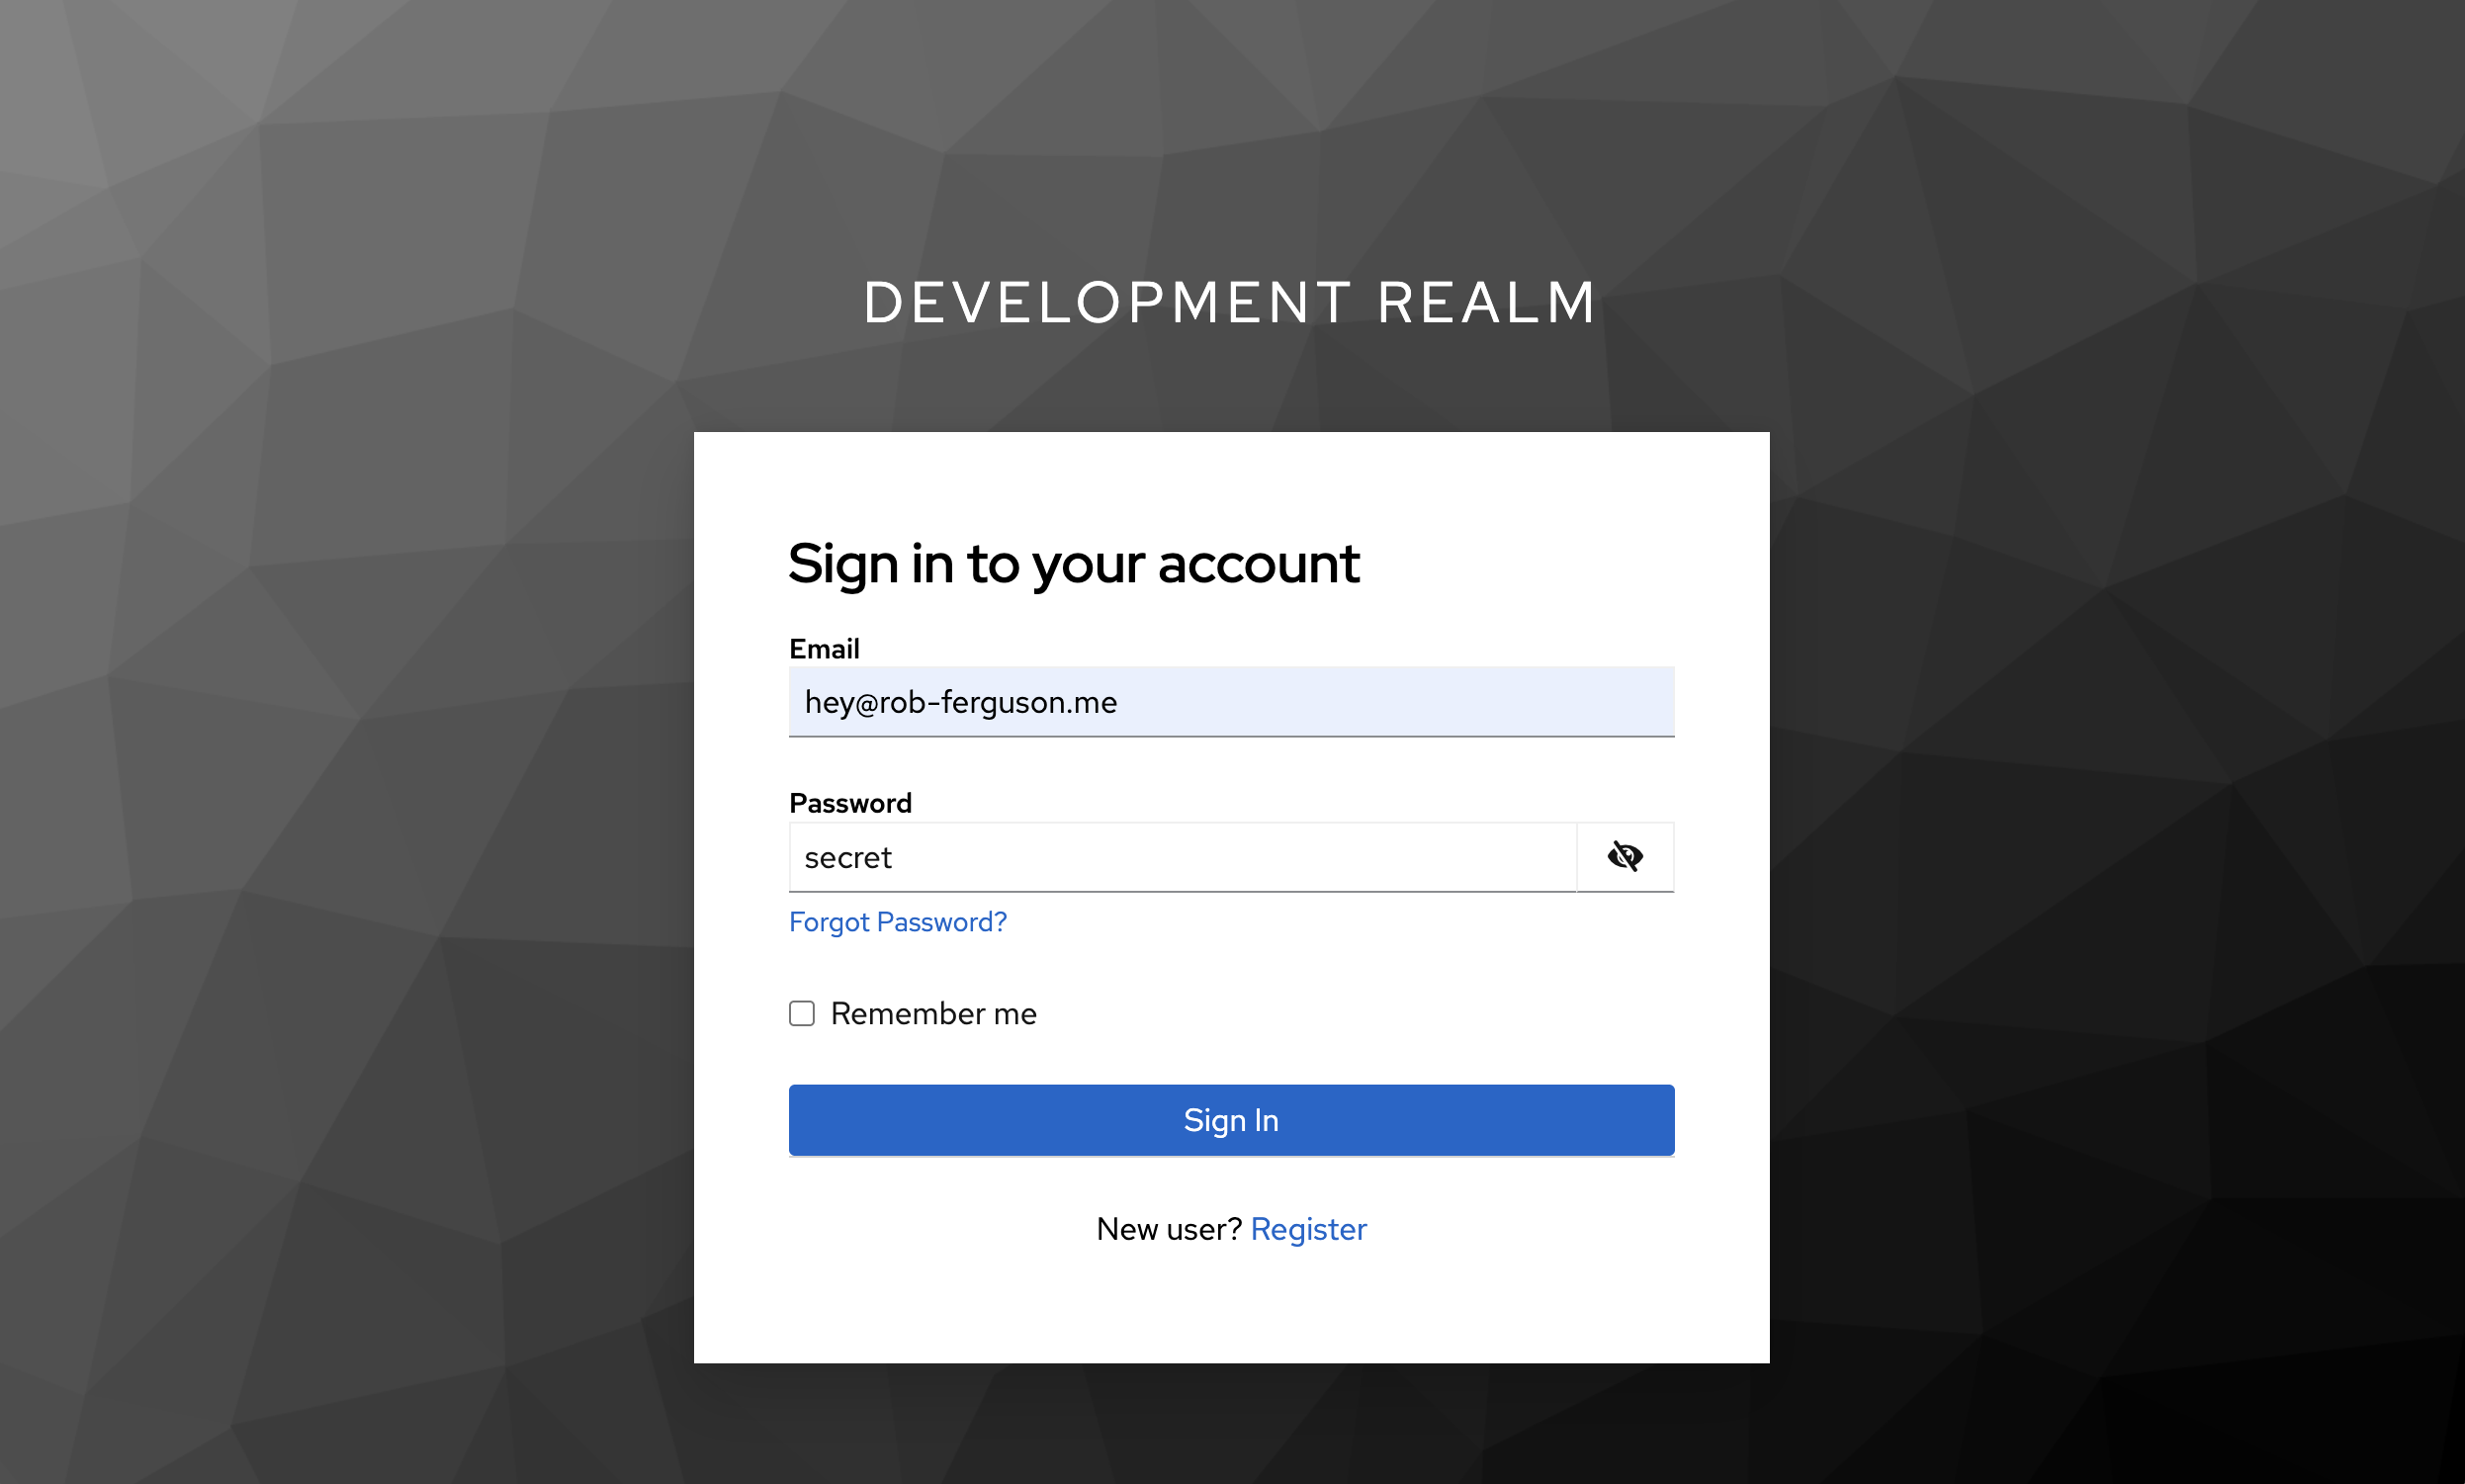
And sign in using the credentials you created:
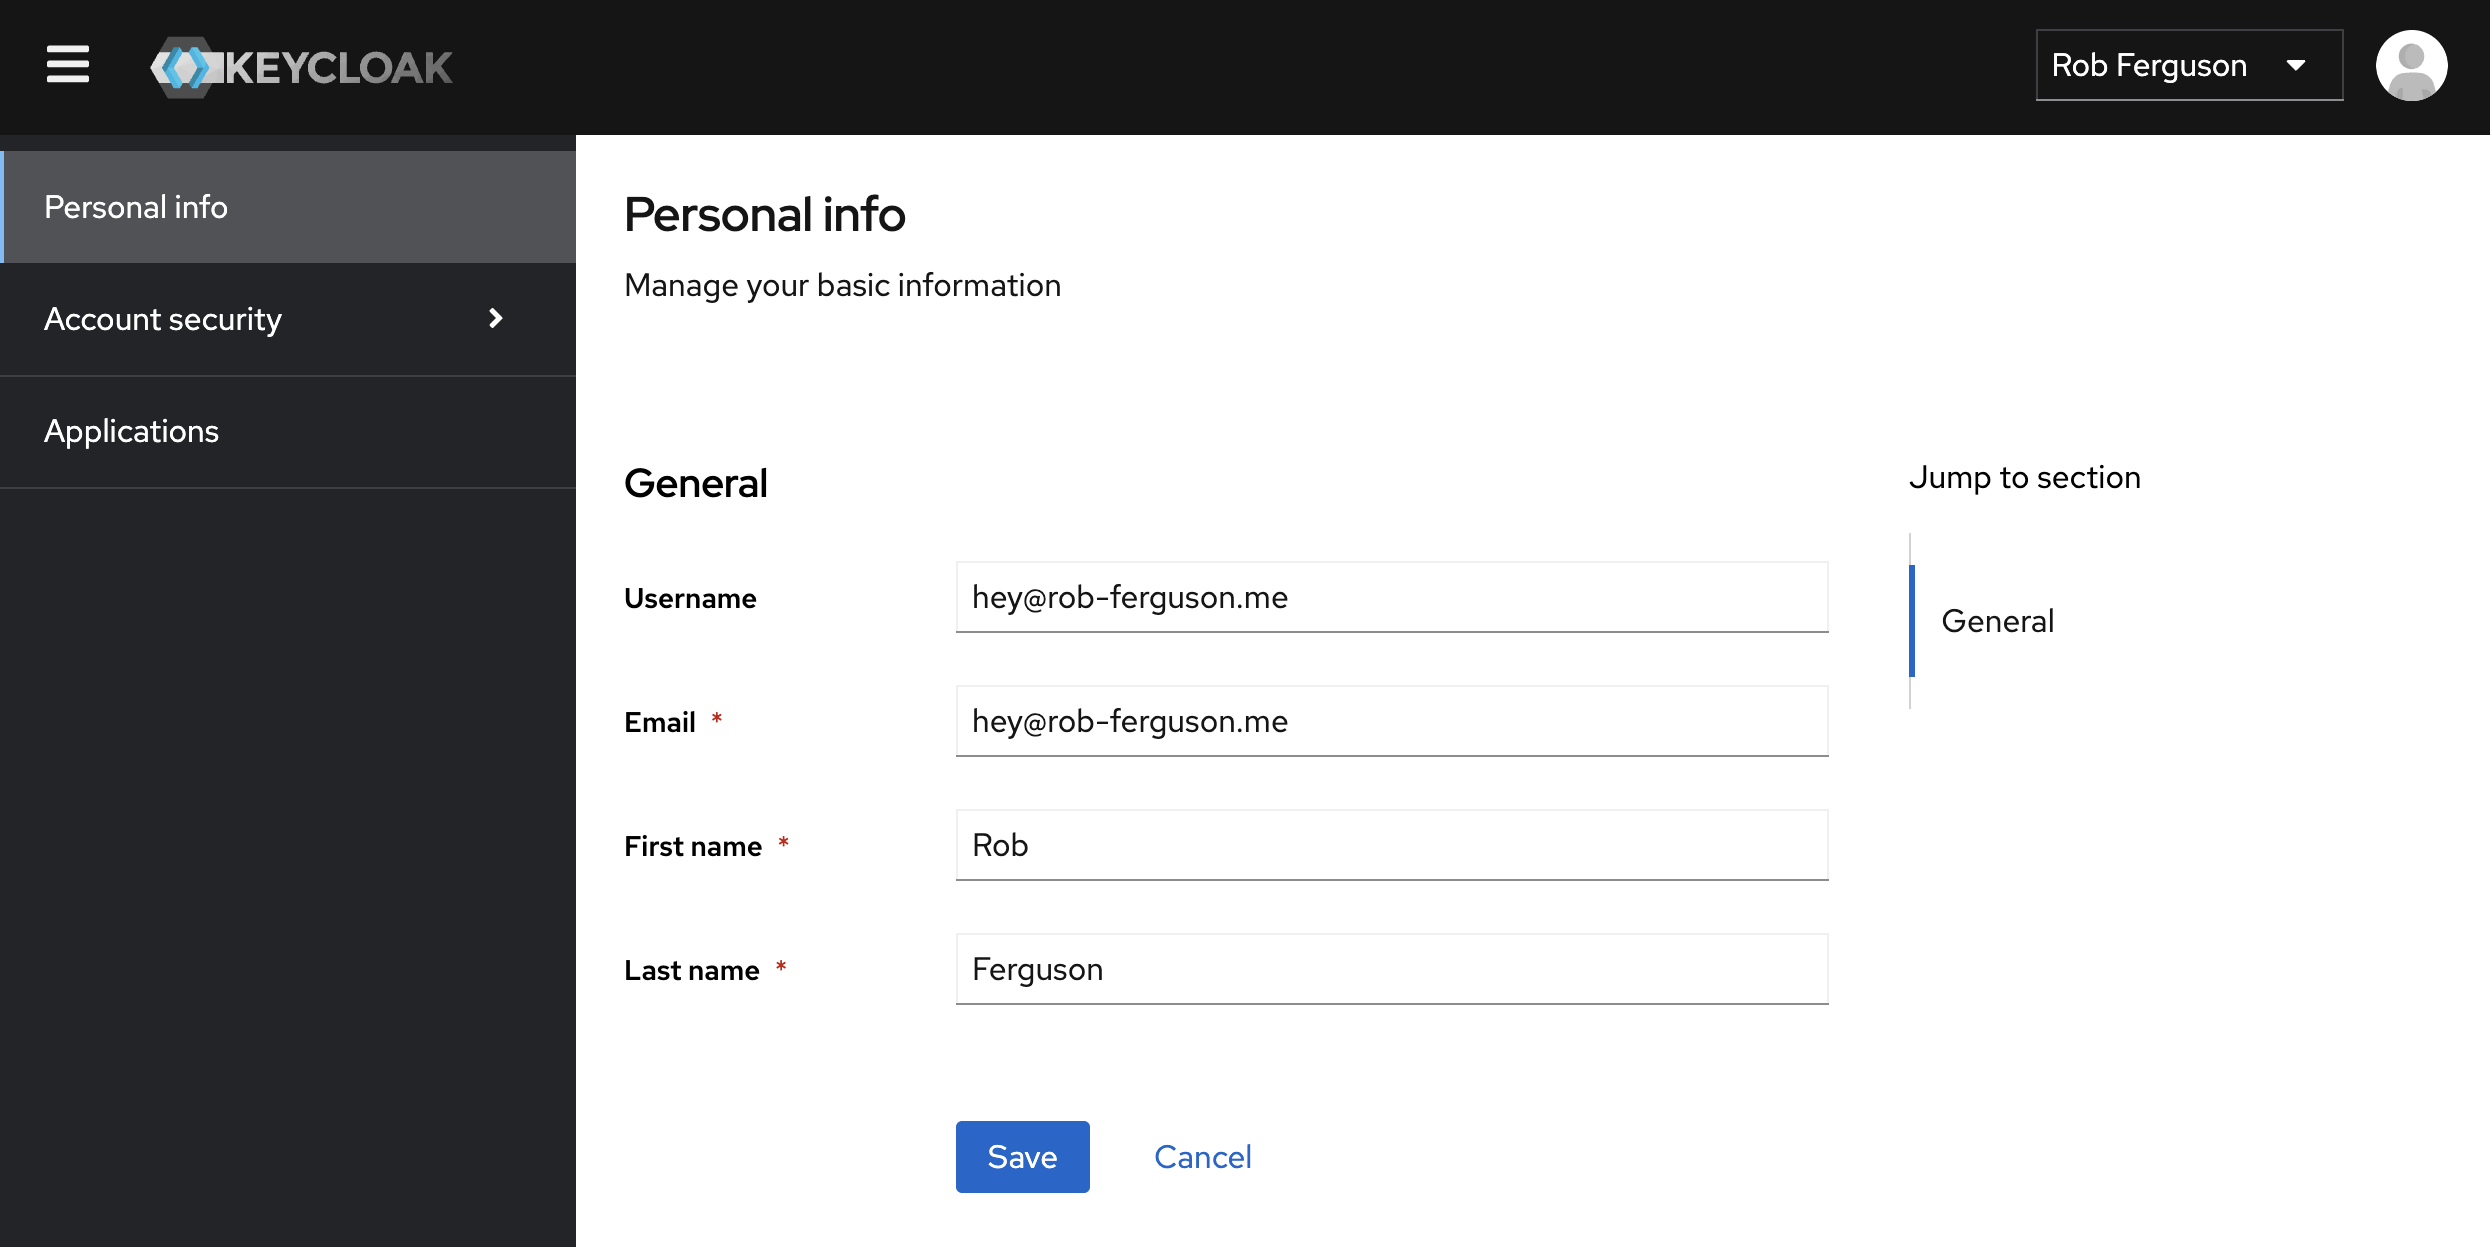
You should see something like:
Create a Client
Verify that you are in the correct realm e.g., the Development Realm (serendipity-dev).
To create a new client, select 'Clients' in the side menu and then click the 'Create client' button:
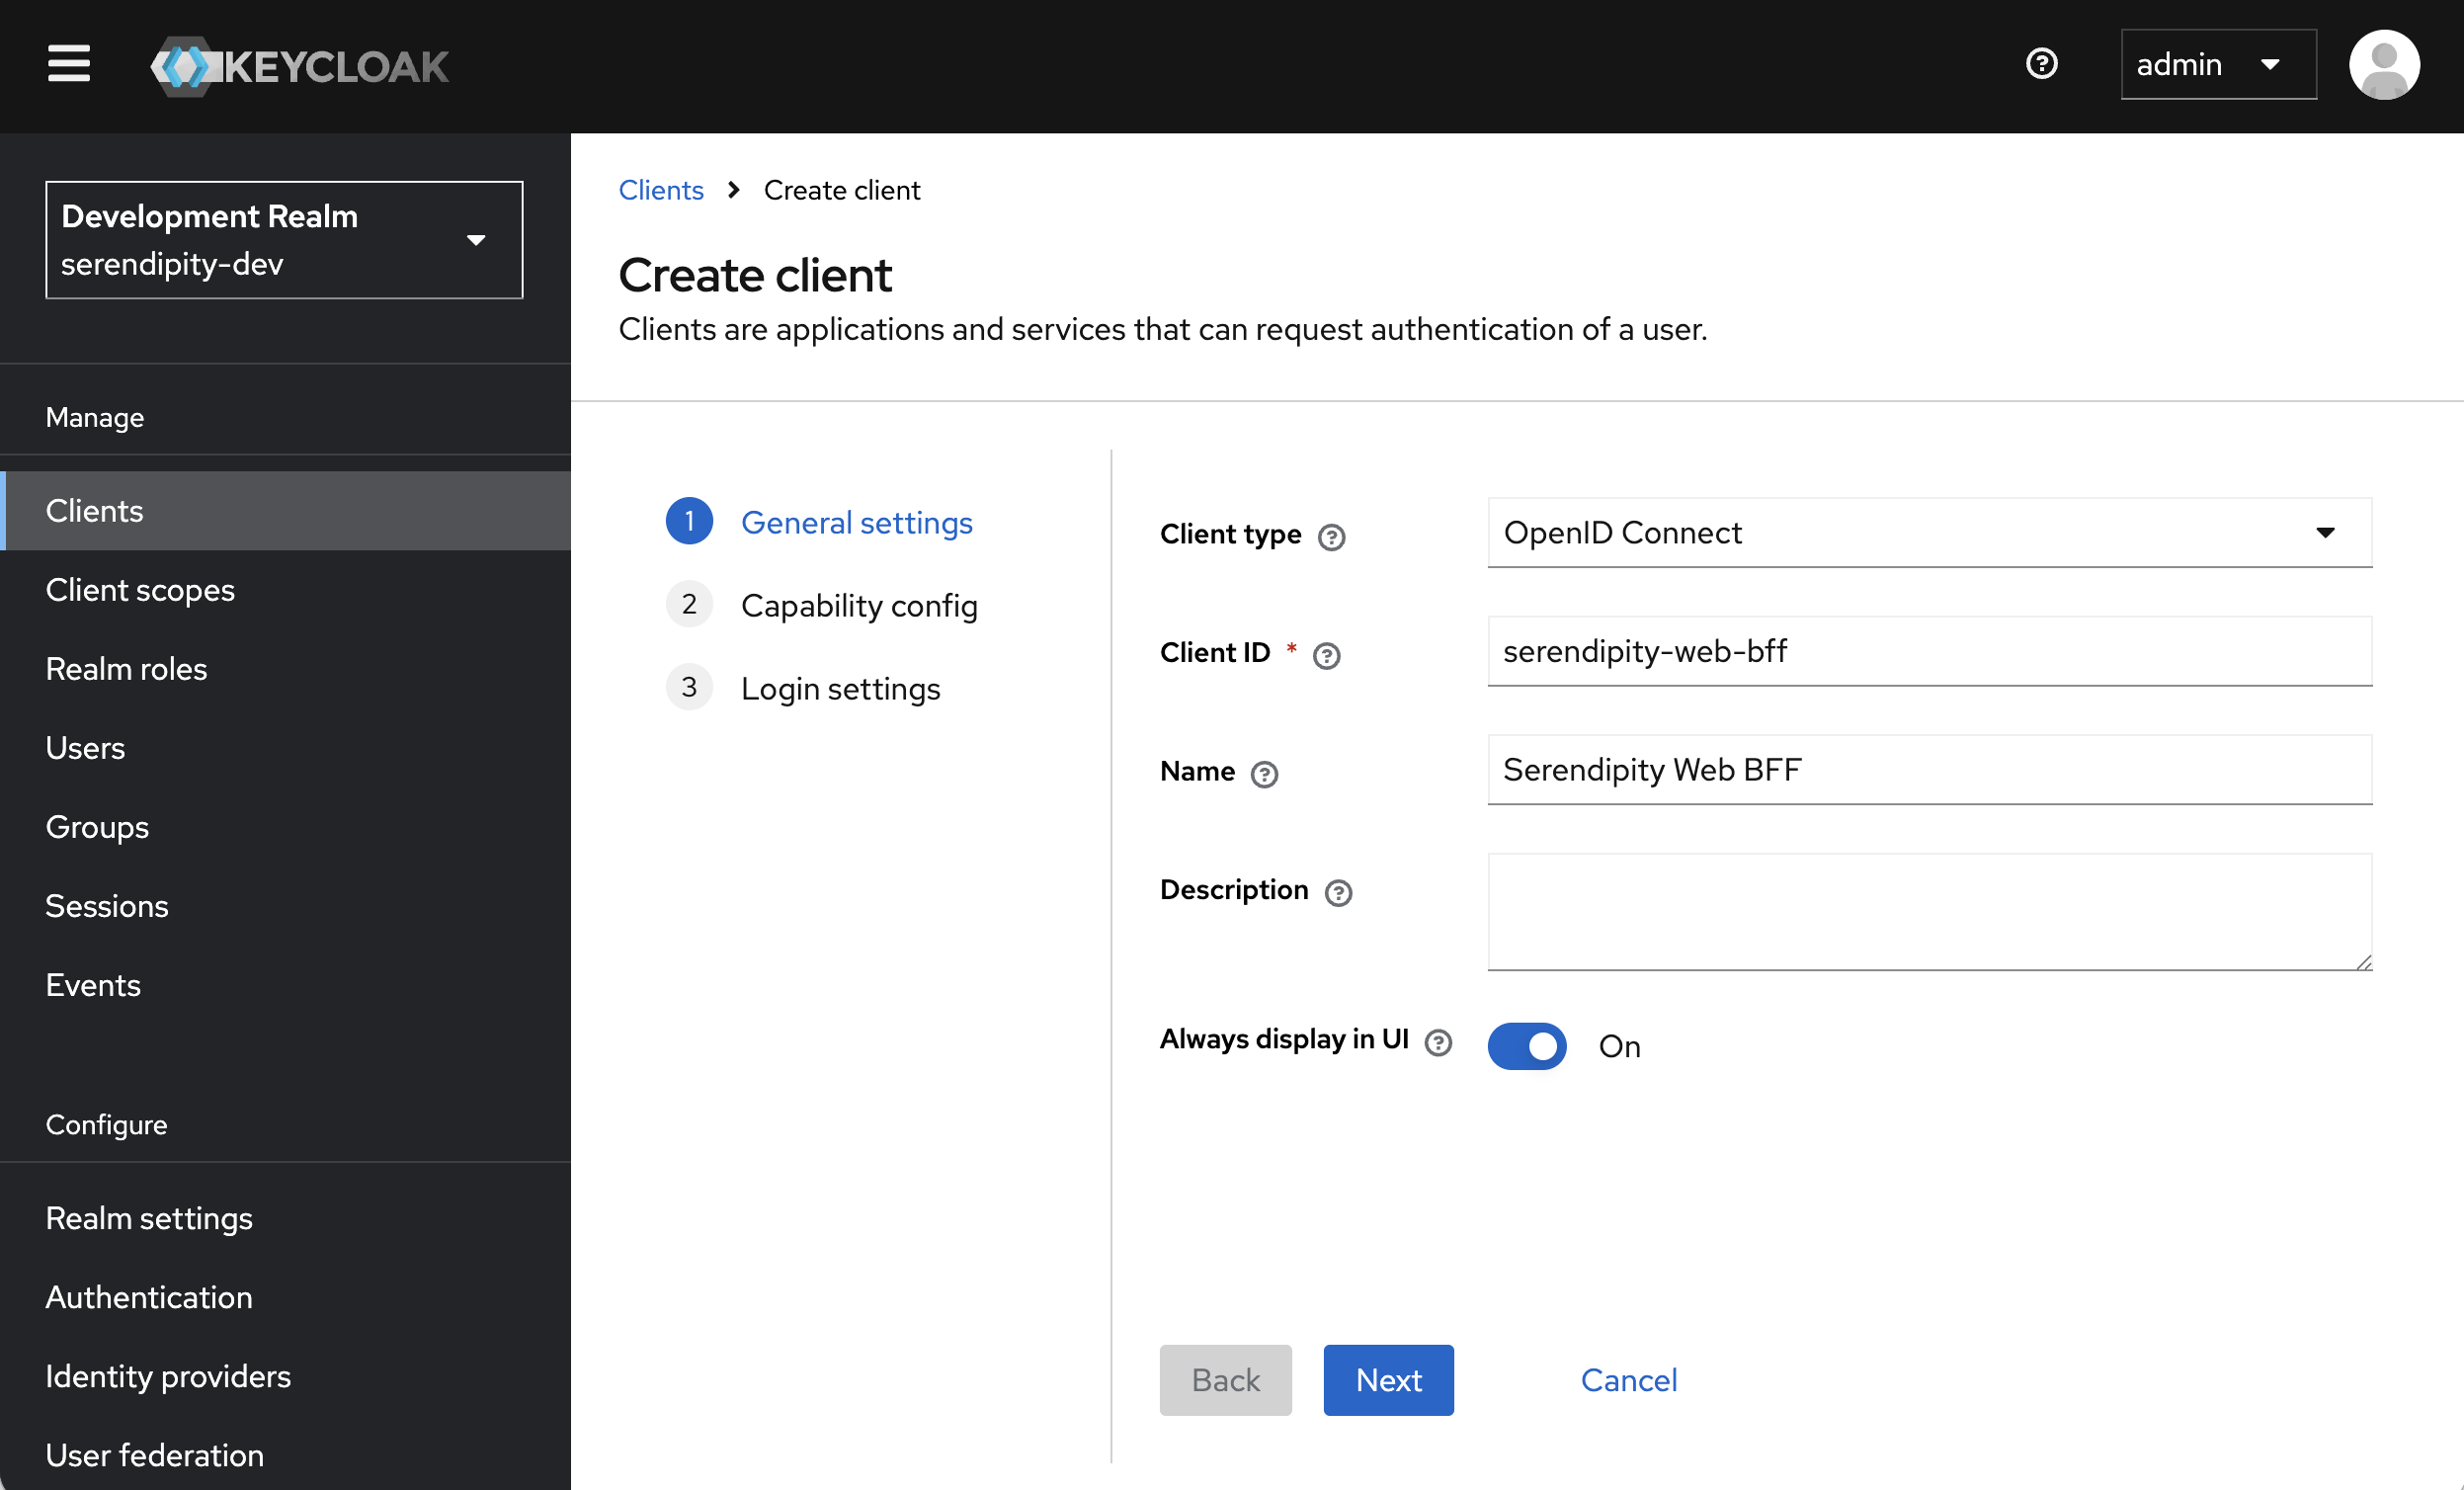
Enter a 'Client ID' (e.g., serendipity-web-bff) and a 'Name' (e.g., Serendipty Web BFF) and then click the 'Next' button:
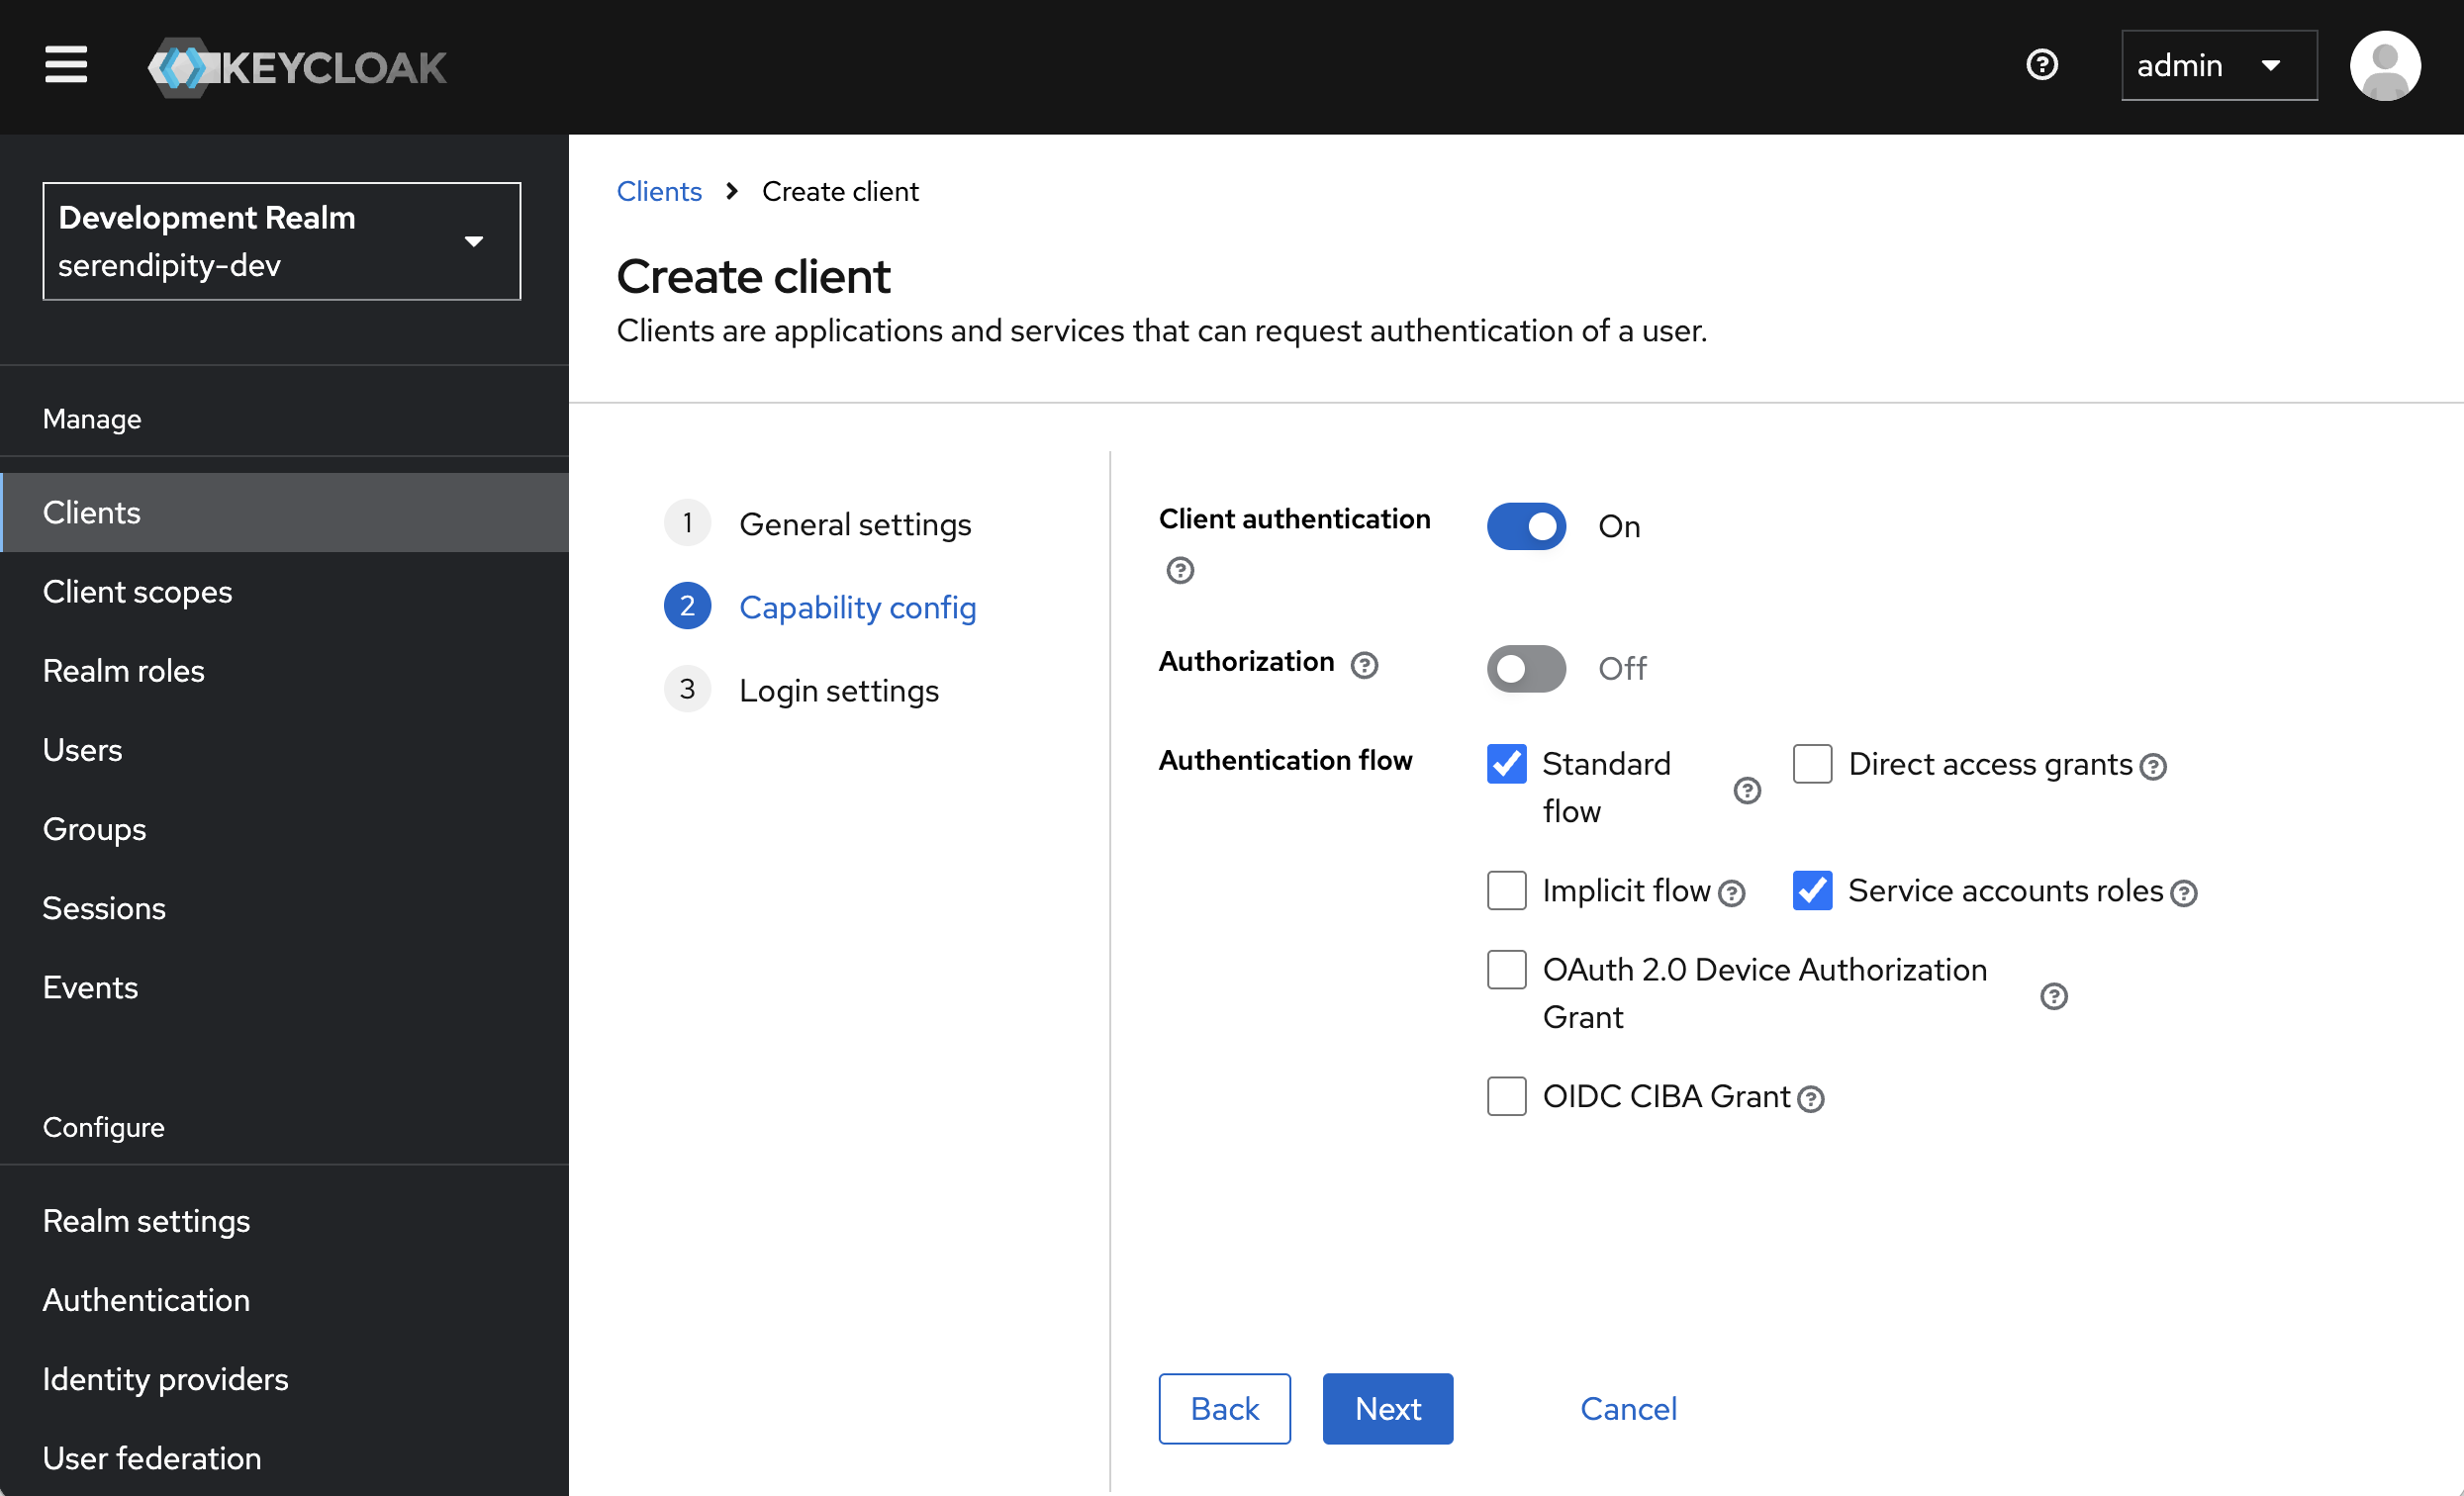
Enable the 'Client authentication' (i.e., OAuth 2.0 Confidential Client) slide toggle and the 'Standard flow' (i.e., OAuth 2.0 Authorization Code Flow) checkbox and then click the 'Next' button:
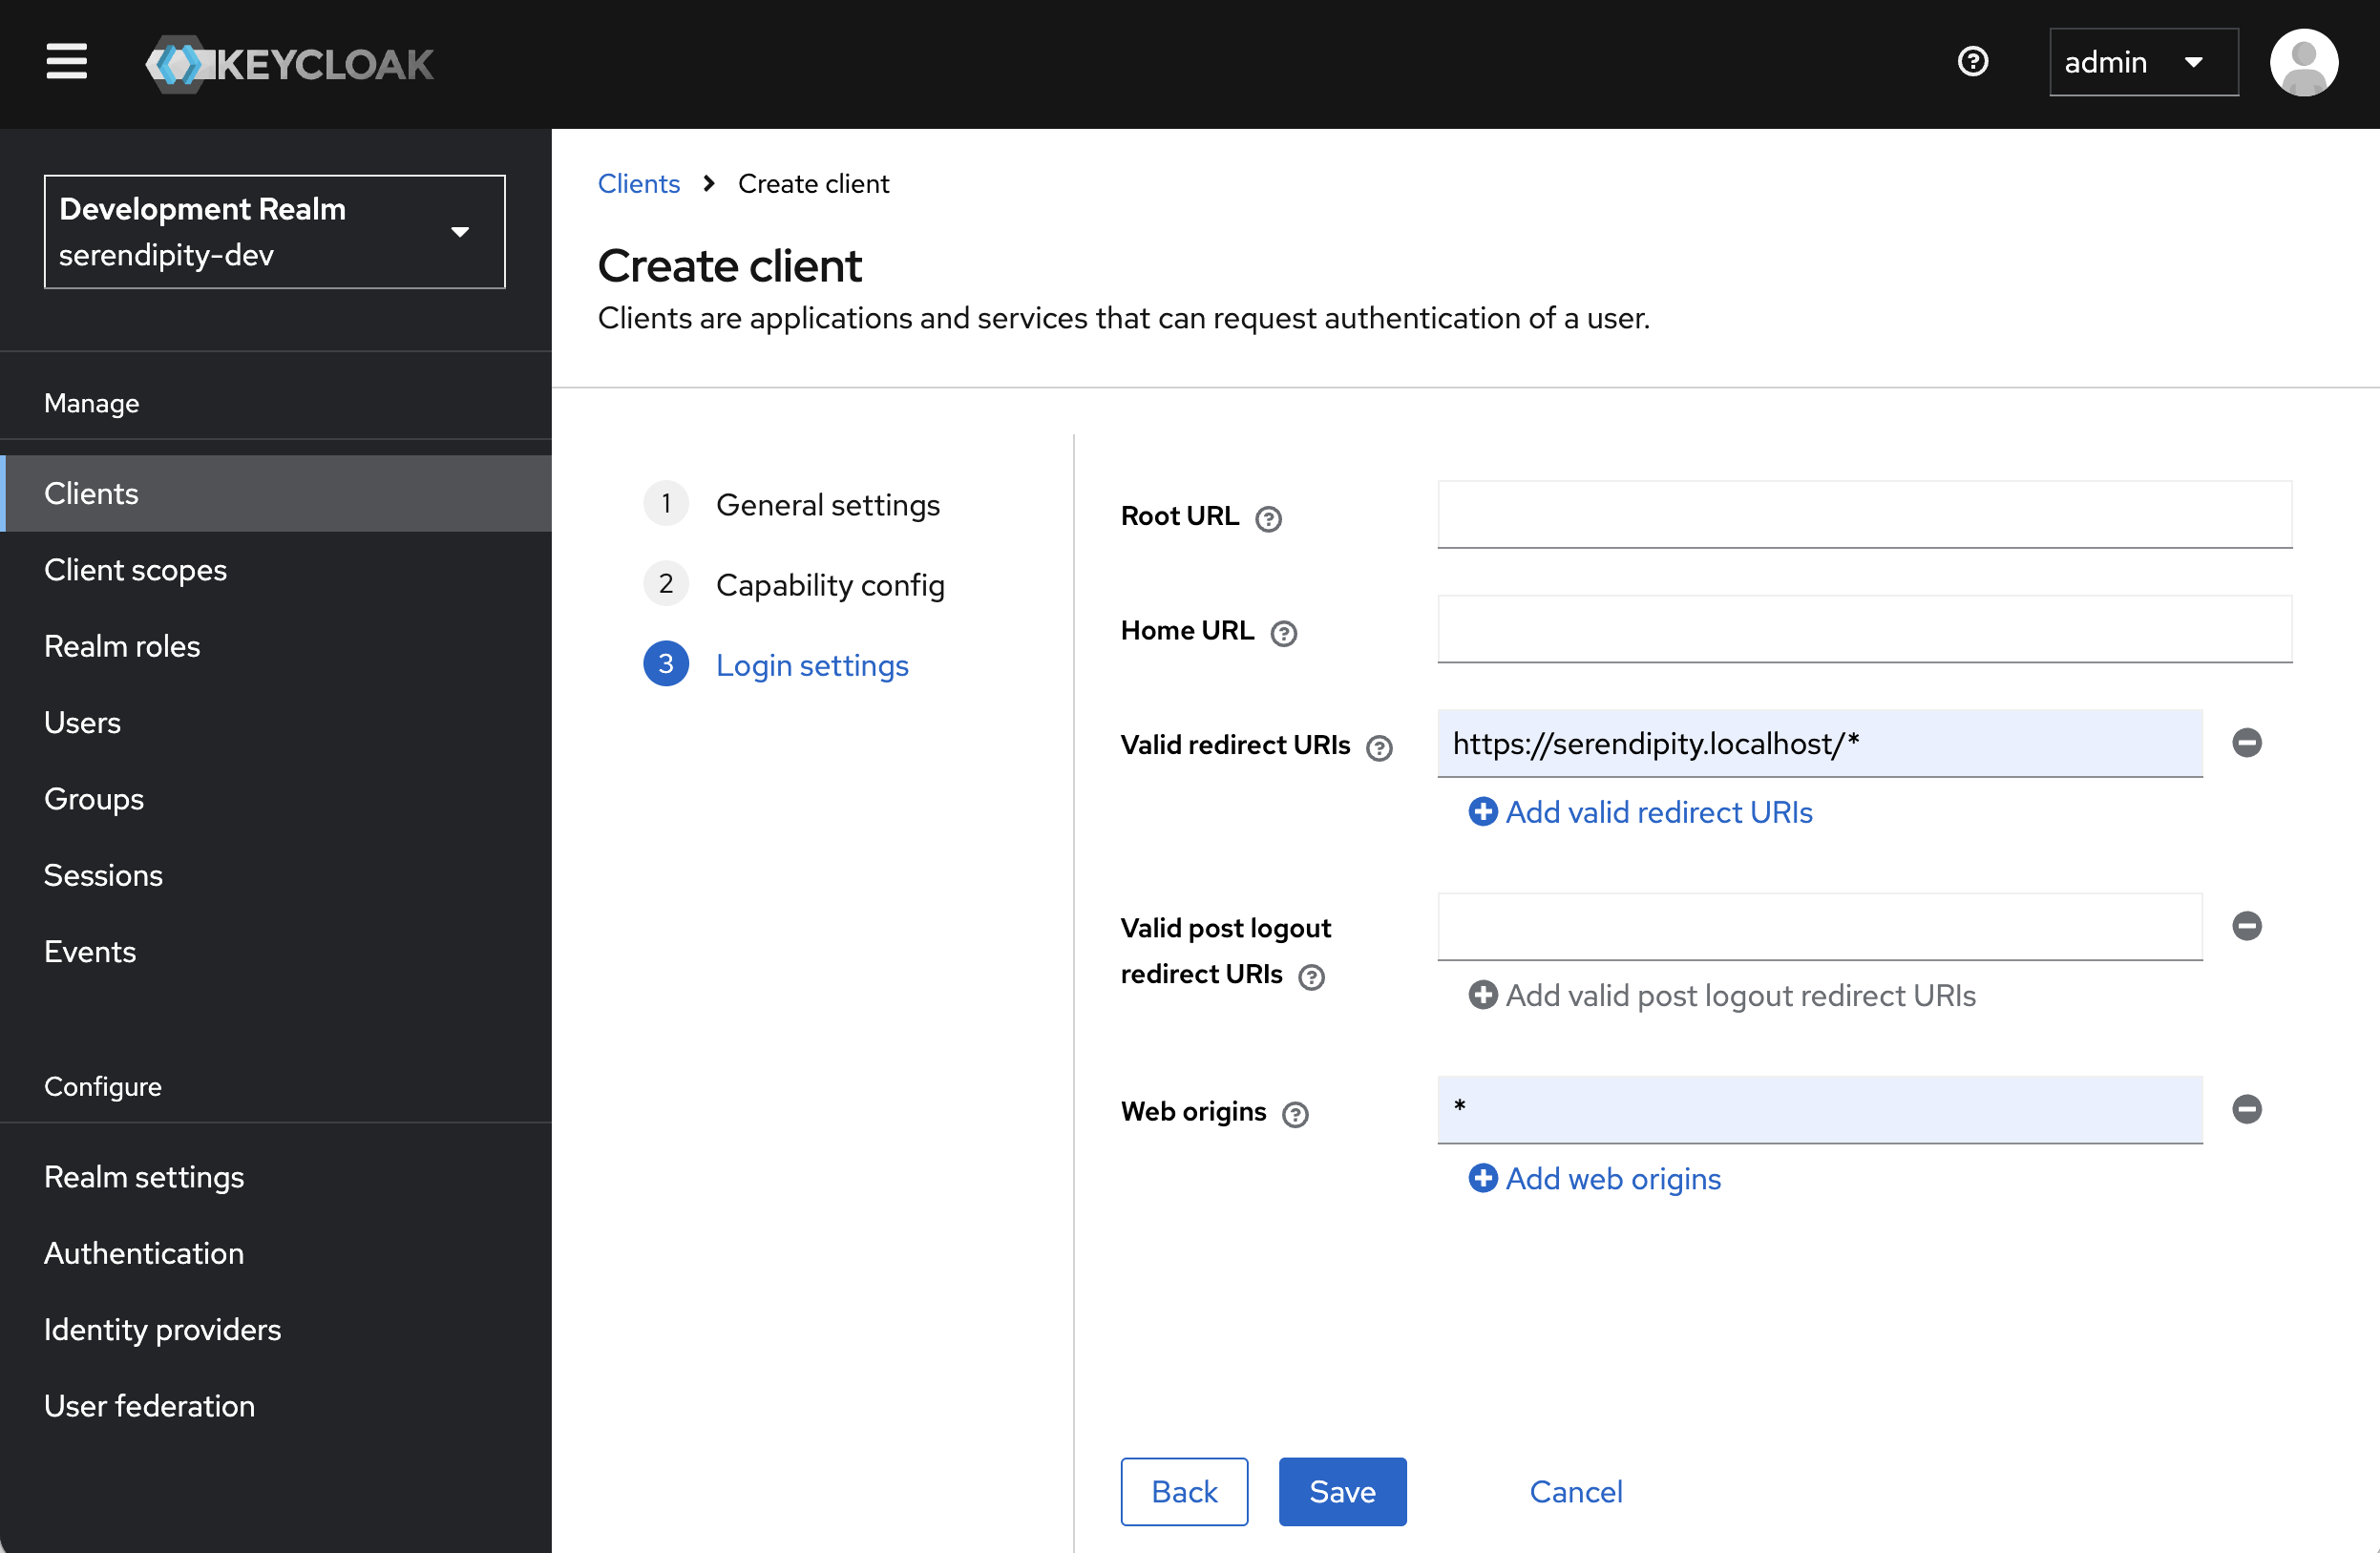
Enter a 'Valid redirect URI' (e.g., https://serendipity.localhost/*), a valid 'Web origins' (e.g., *) and then click the 'Save' button.
Export a realm
We provide the following Docker Compose file that is useful during development and testing:
| Component | Description |
|---|---|
| export-realm.yml | Export the a Realm. |
To export a realm, in the project's /backend directory, run
REALM_NAME=serendipity-dev docker compose -f export-realm.yml up
To stop the containers, run:
docker compose -f export-realm.yml down -v
Look for a file named serendipity-dev-realm.json in the /backend directory.
References
Keycloak
- Keycloak docs: Server Administration Guide - Importing and Exporting Realms